Oil Painting Essentials
Amy Shawley Paquette

For last week’s Thursday night FB live demo, I focused on oil painting essentials and shared five of my favorite things to know and utilize when working in oil. Below is the demo video, a summary of what I covered, and progress on the painting I started during the demo!
When it comes to oil painting, there are so many things to love - the richness of color, its slow drying nature, the great textures you can achieve with pigments of various grinds…and more. To simplify my process, I presented five ideas that are key when I oil paint:
Paint over a Custom Acrylic Ground
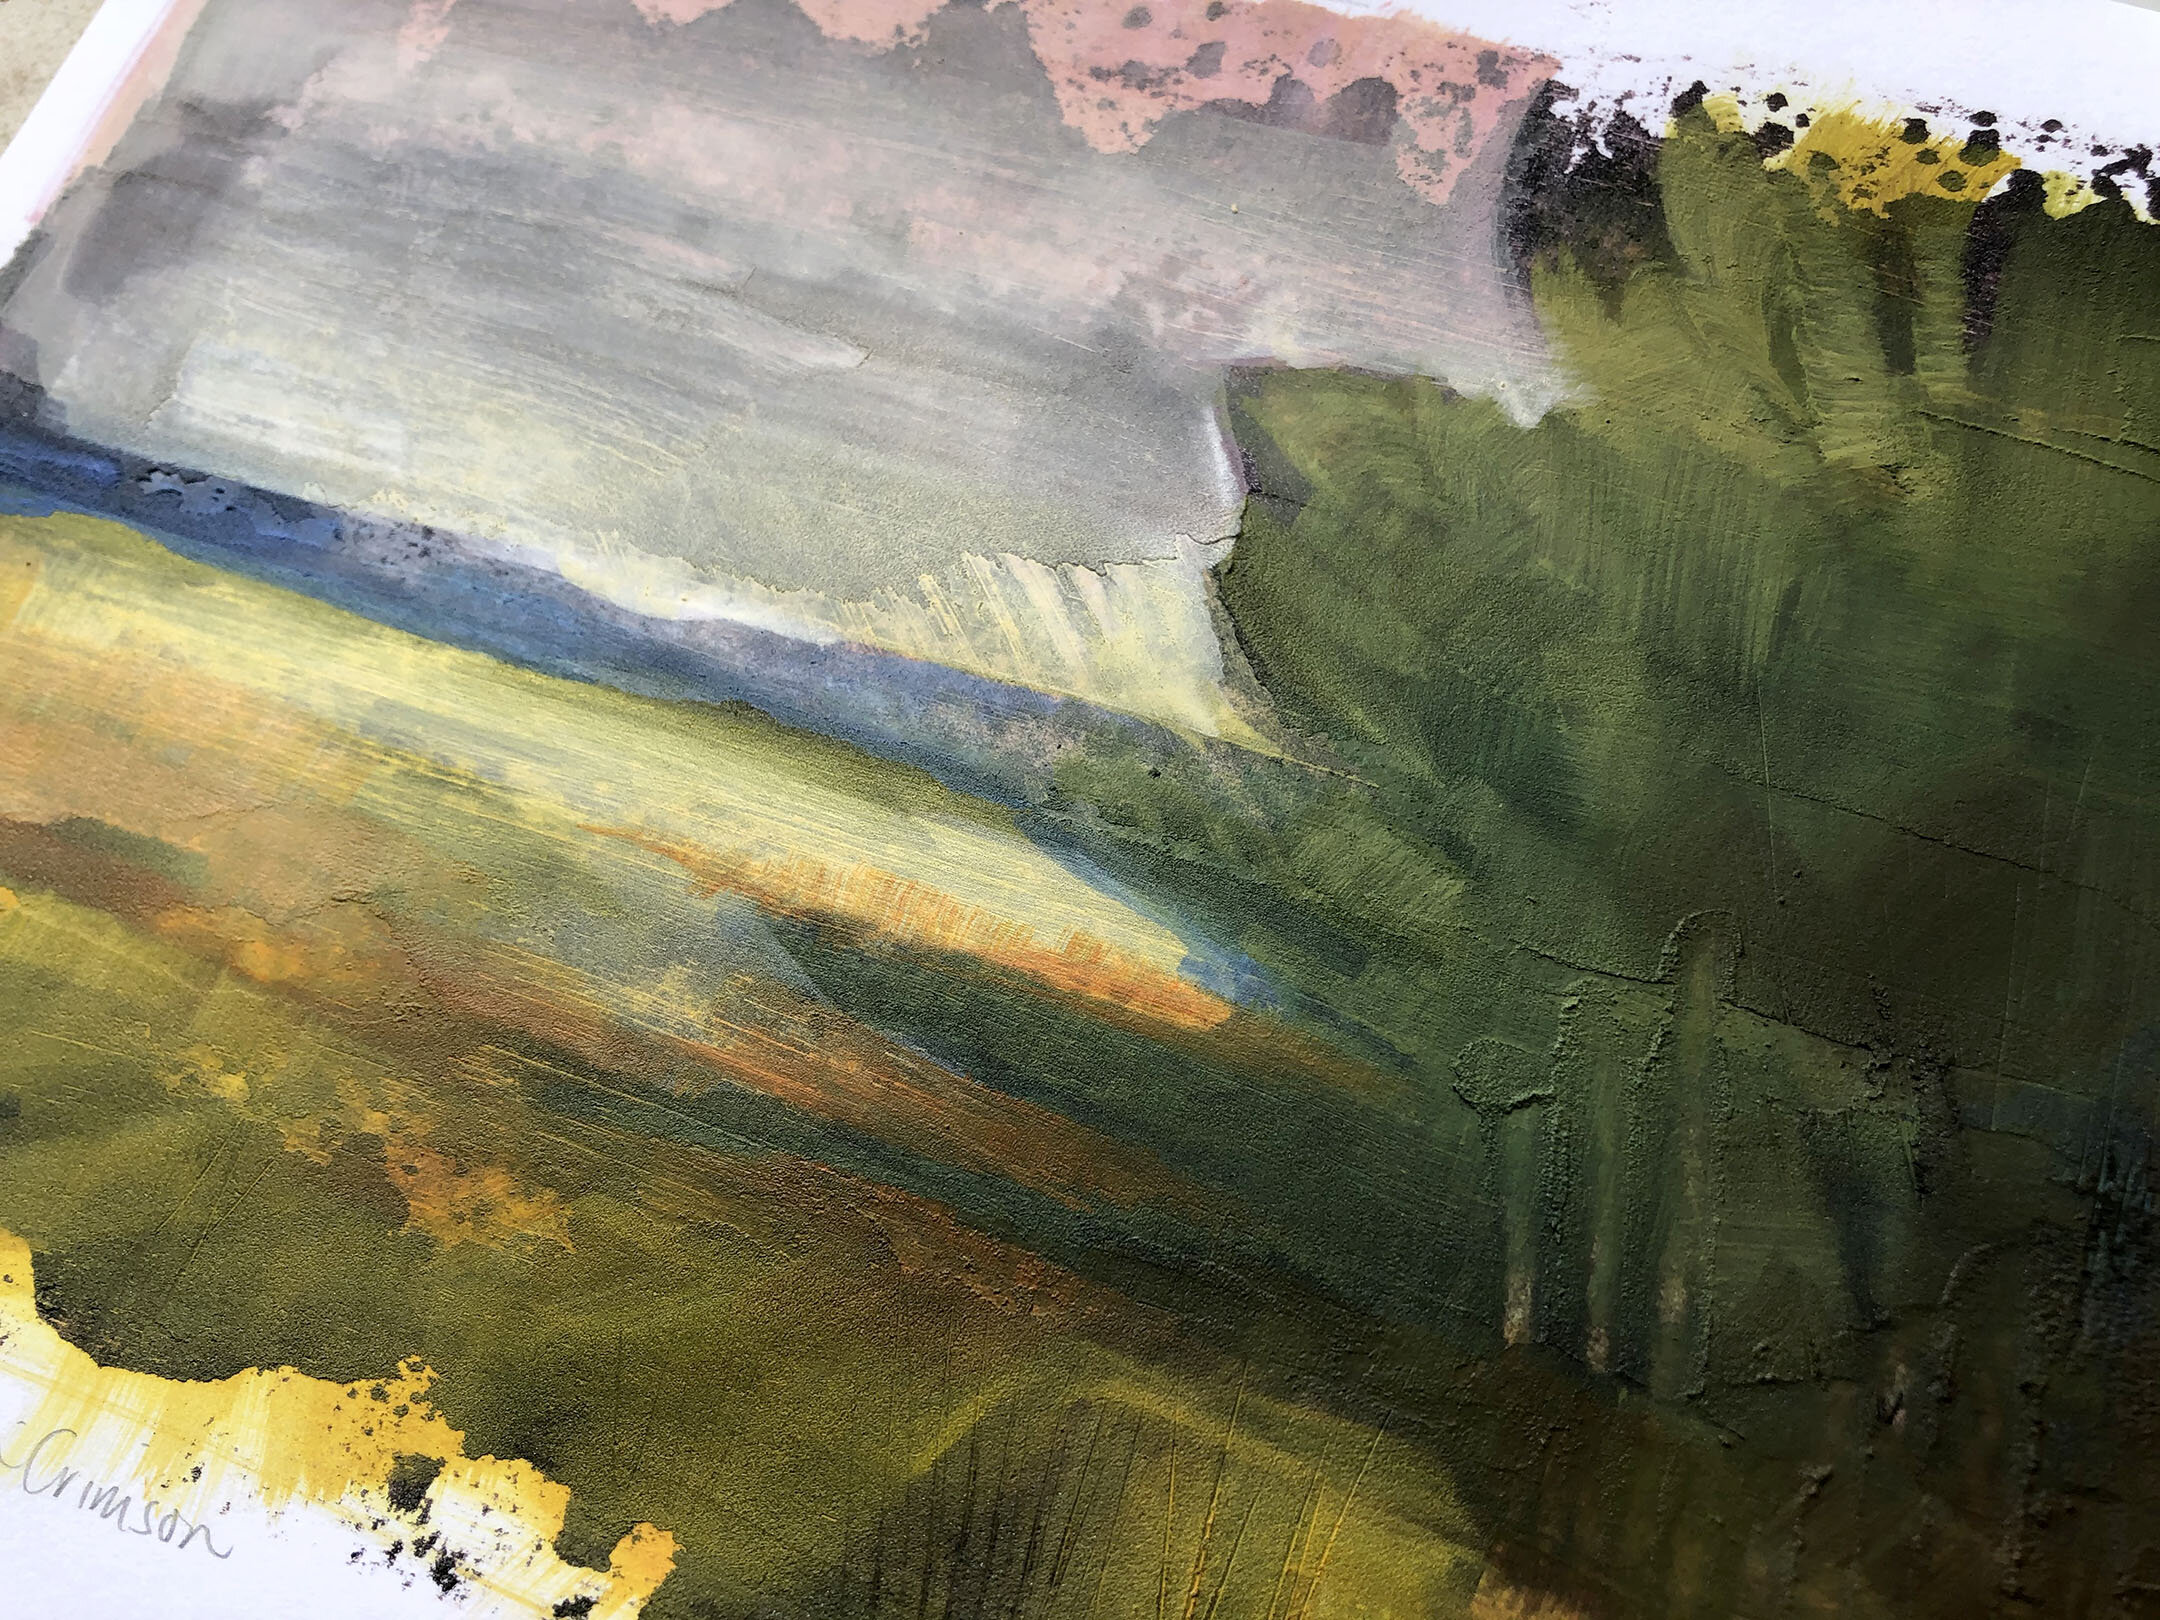
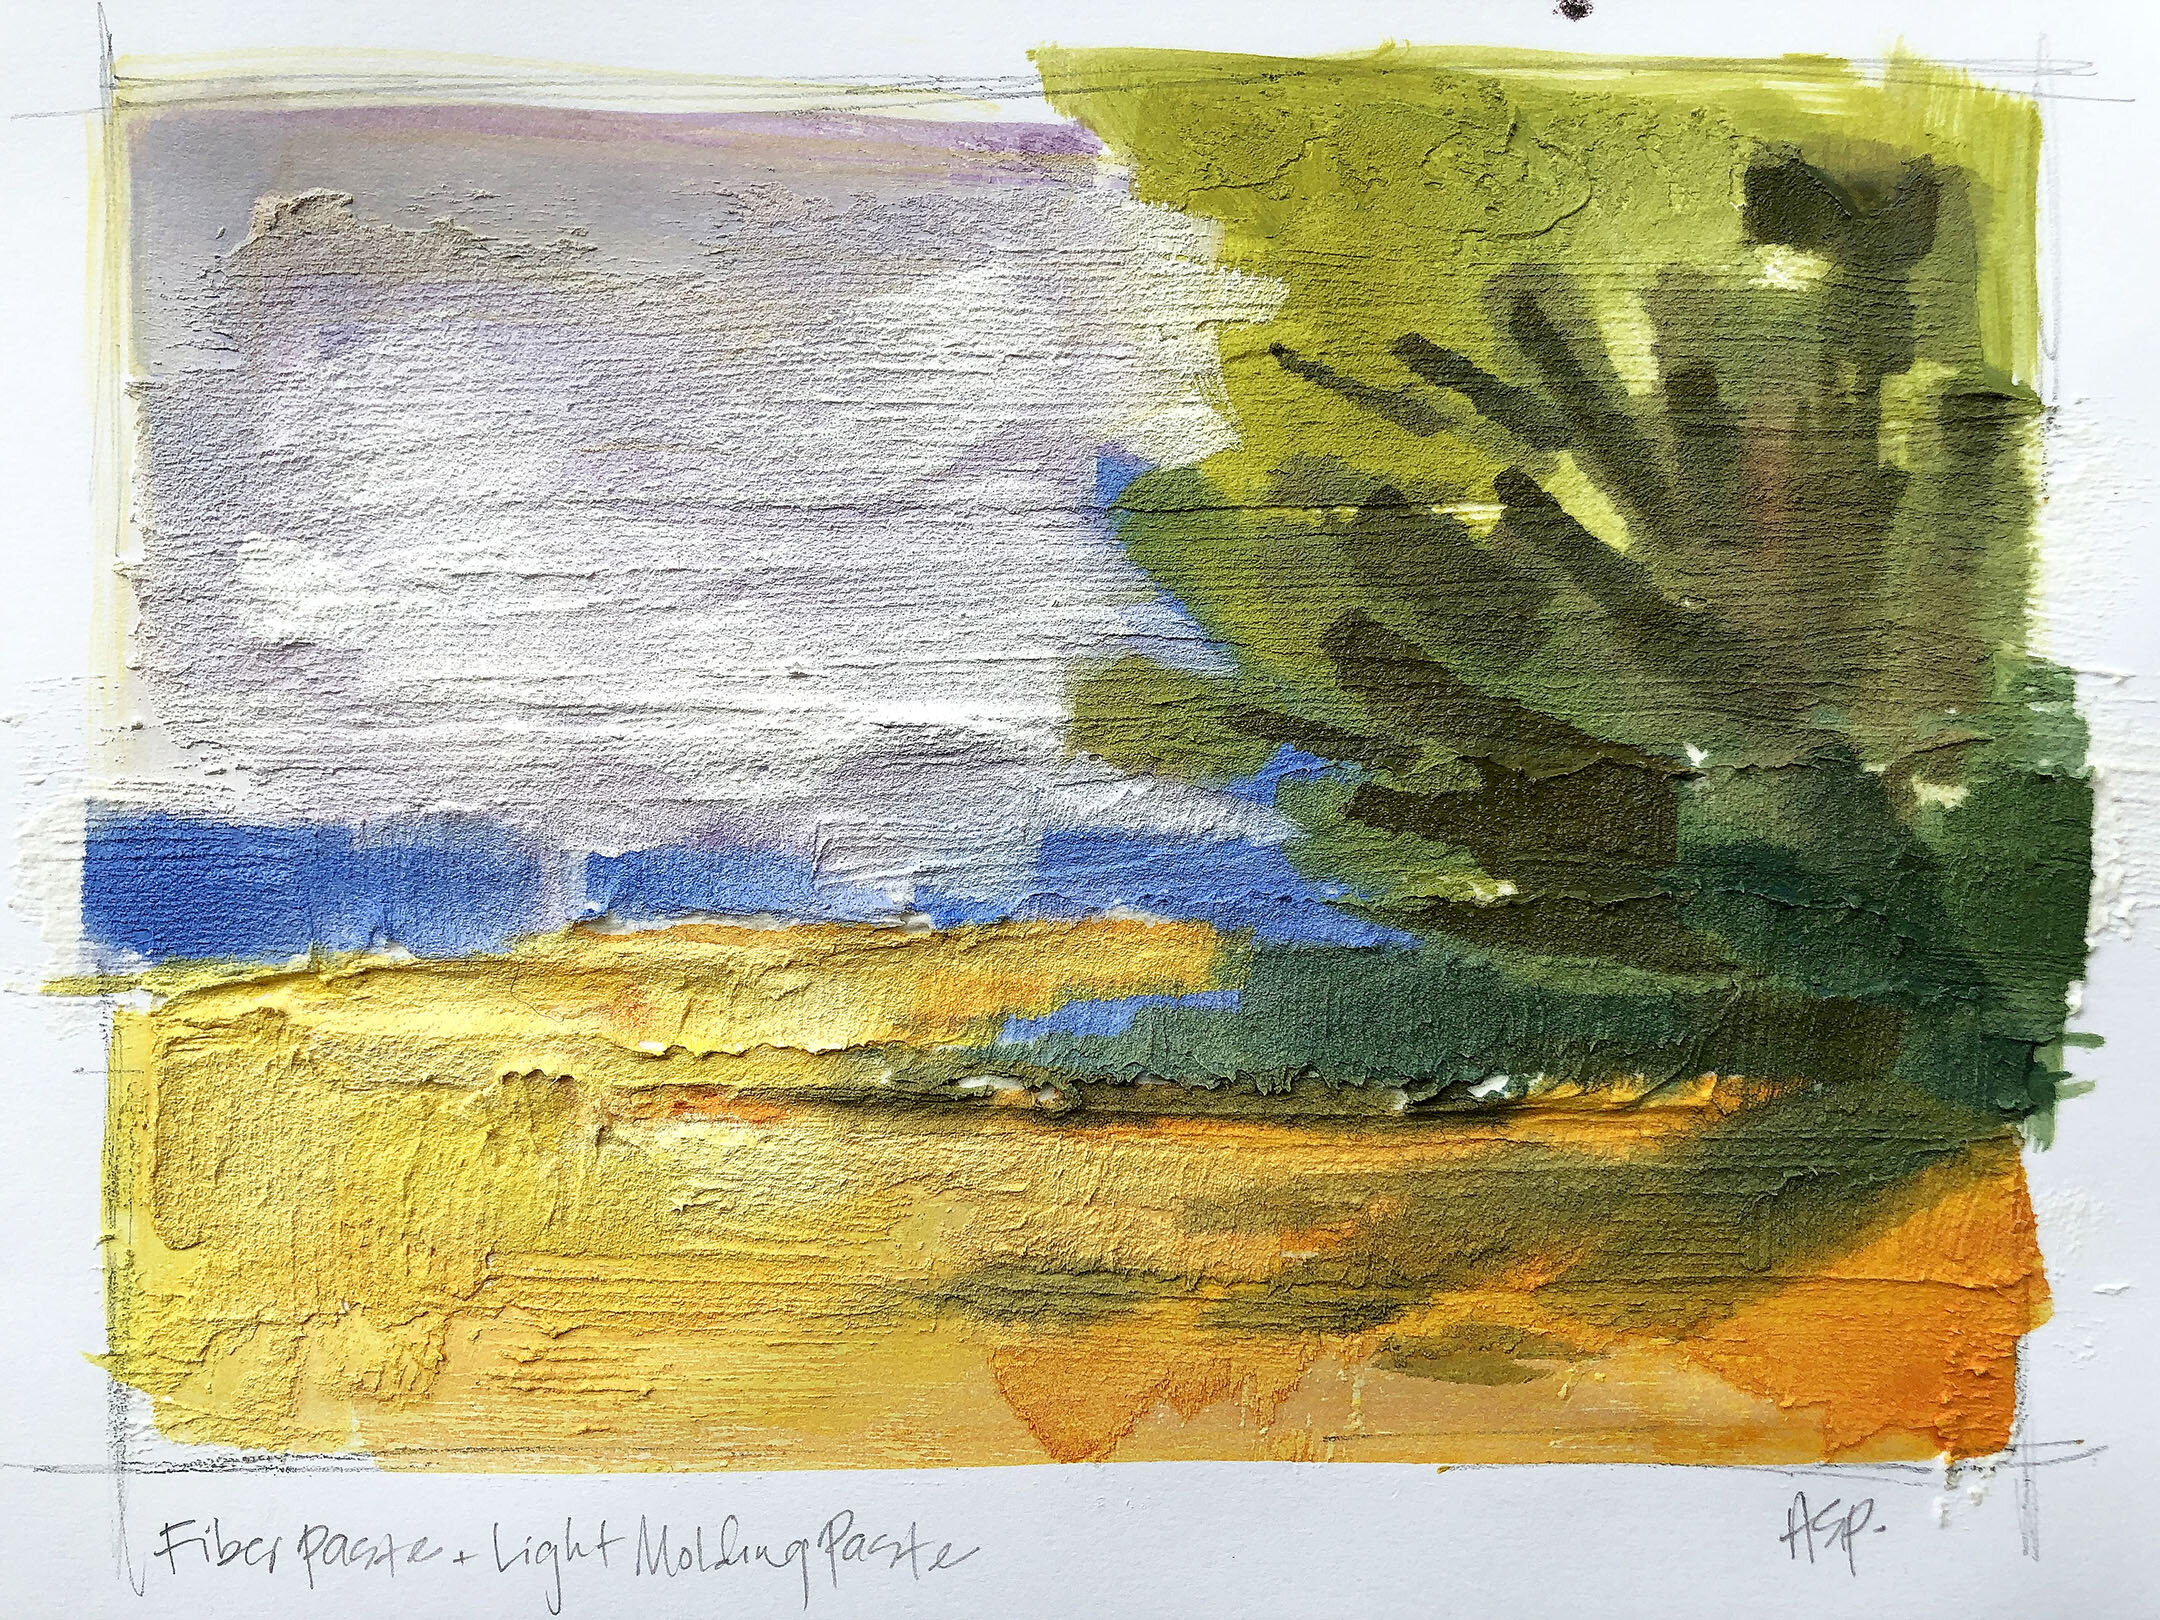
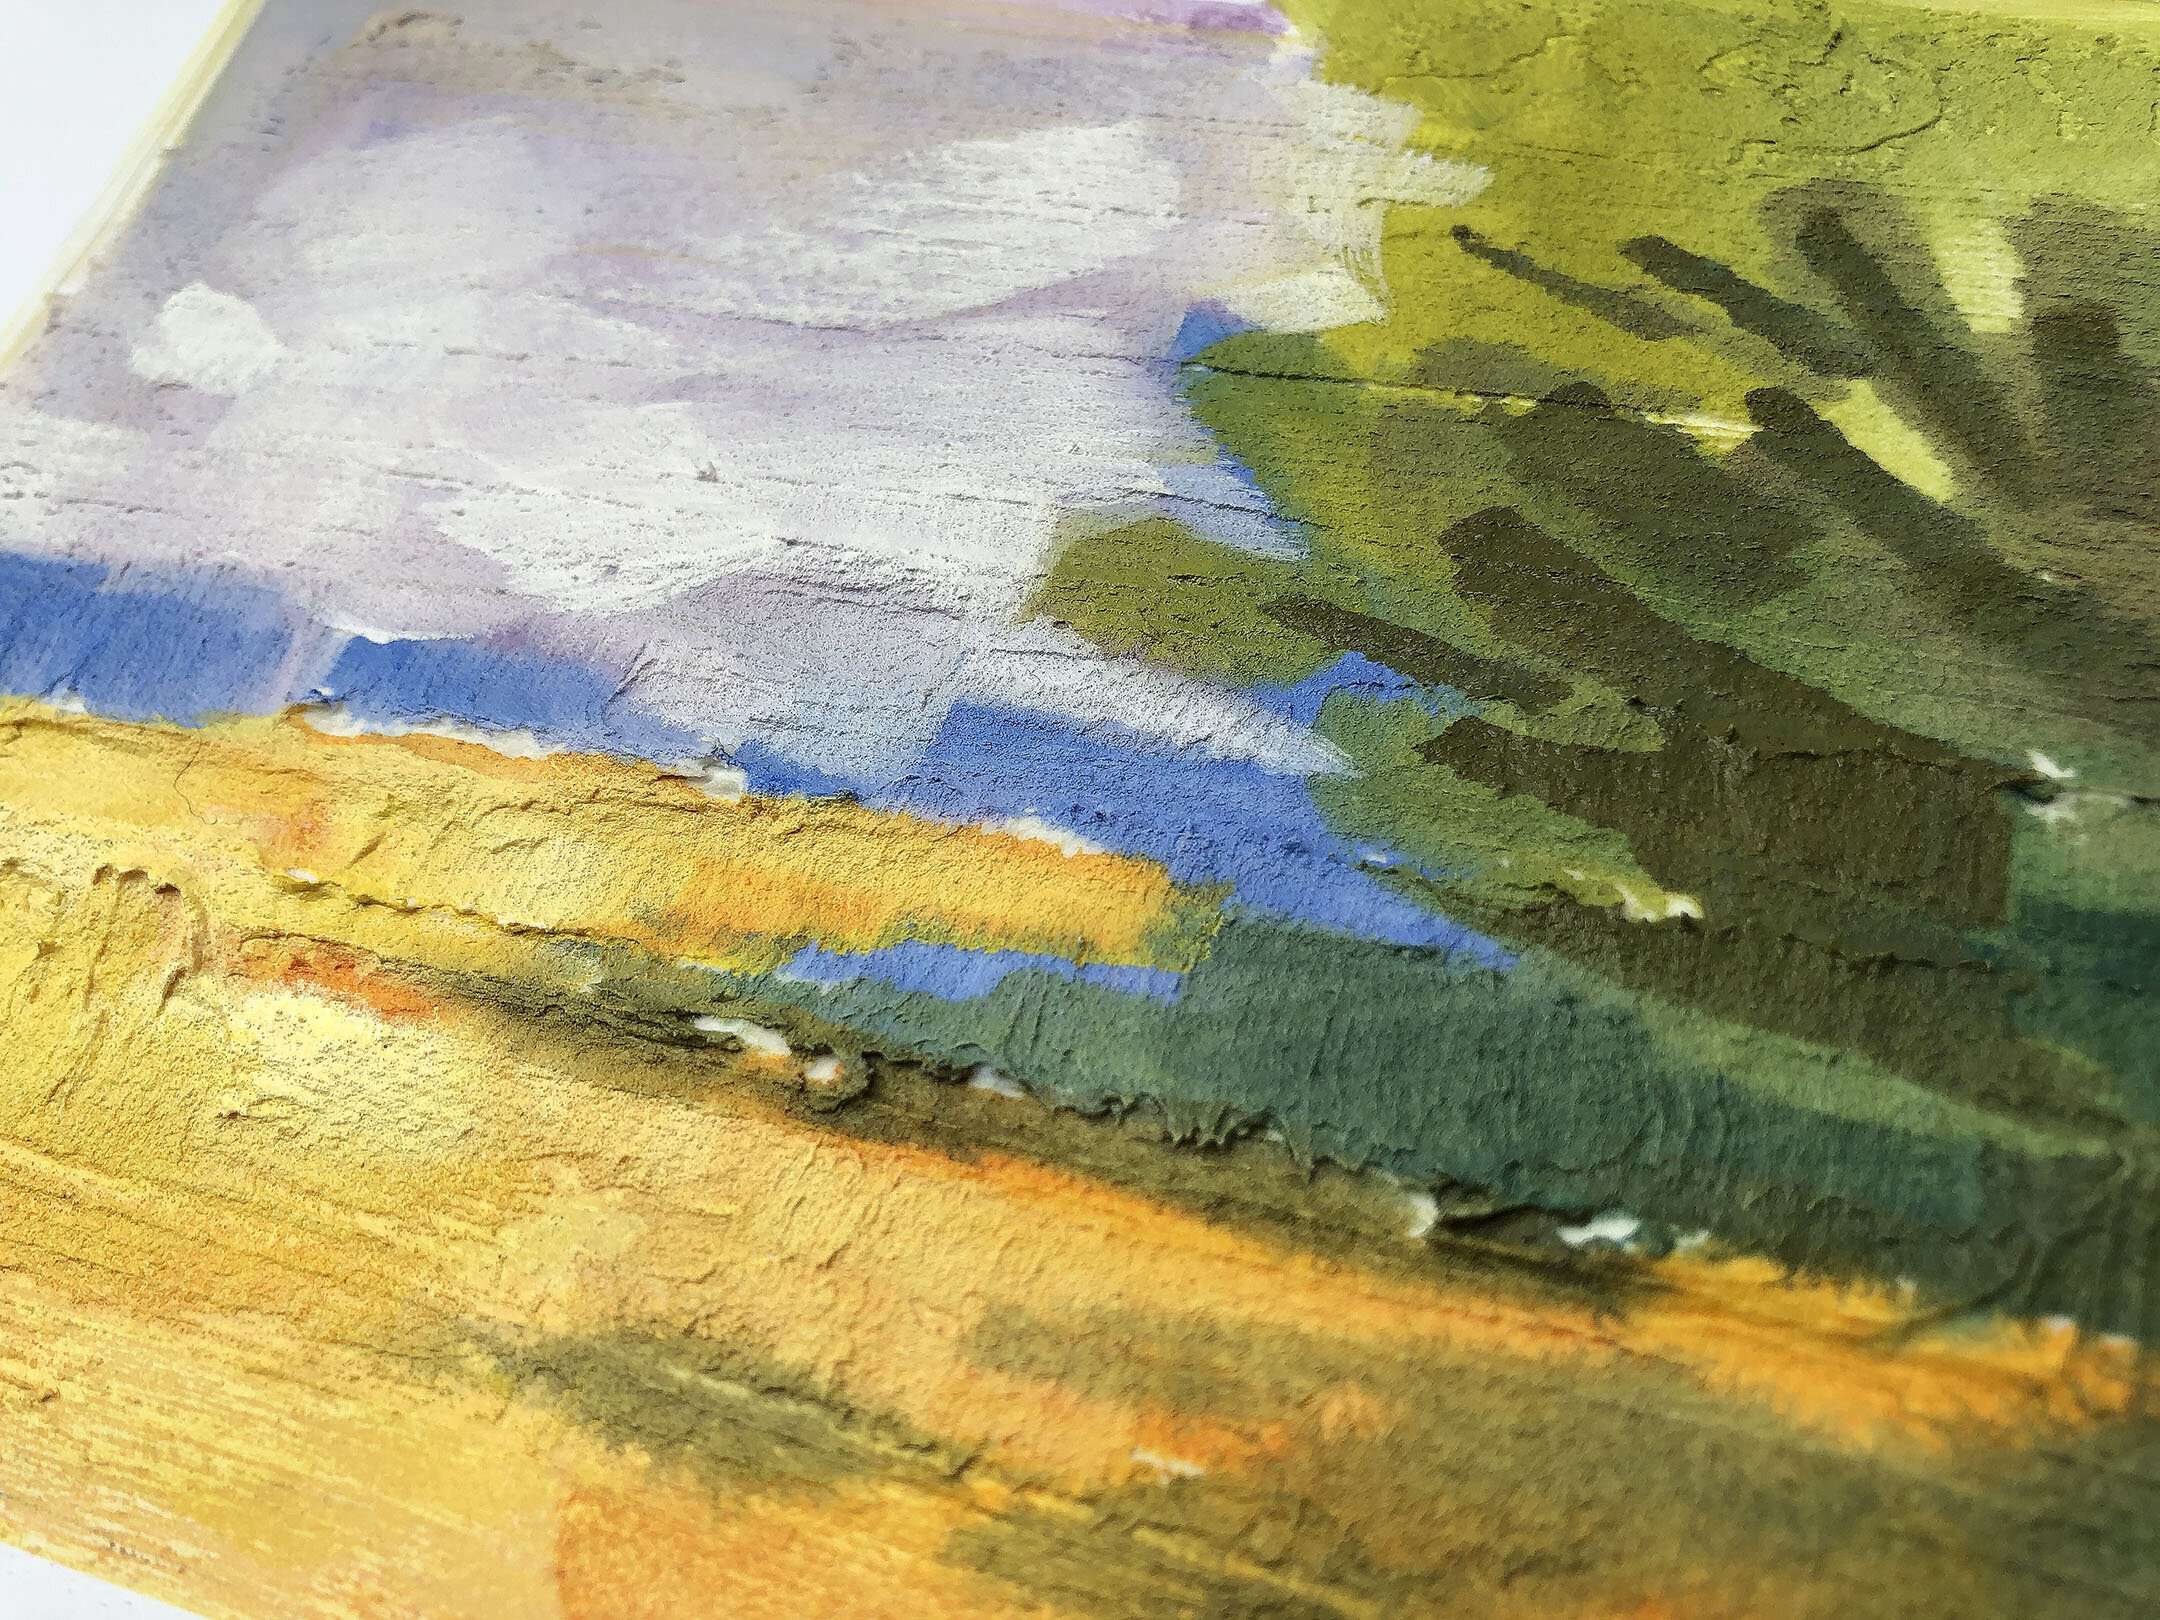
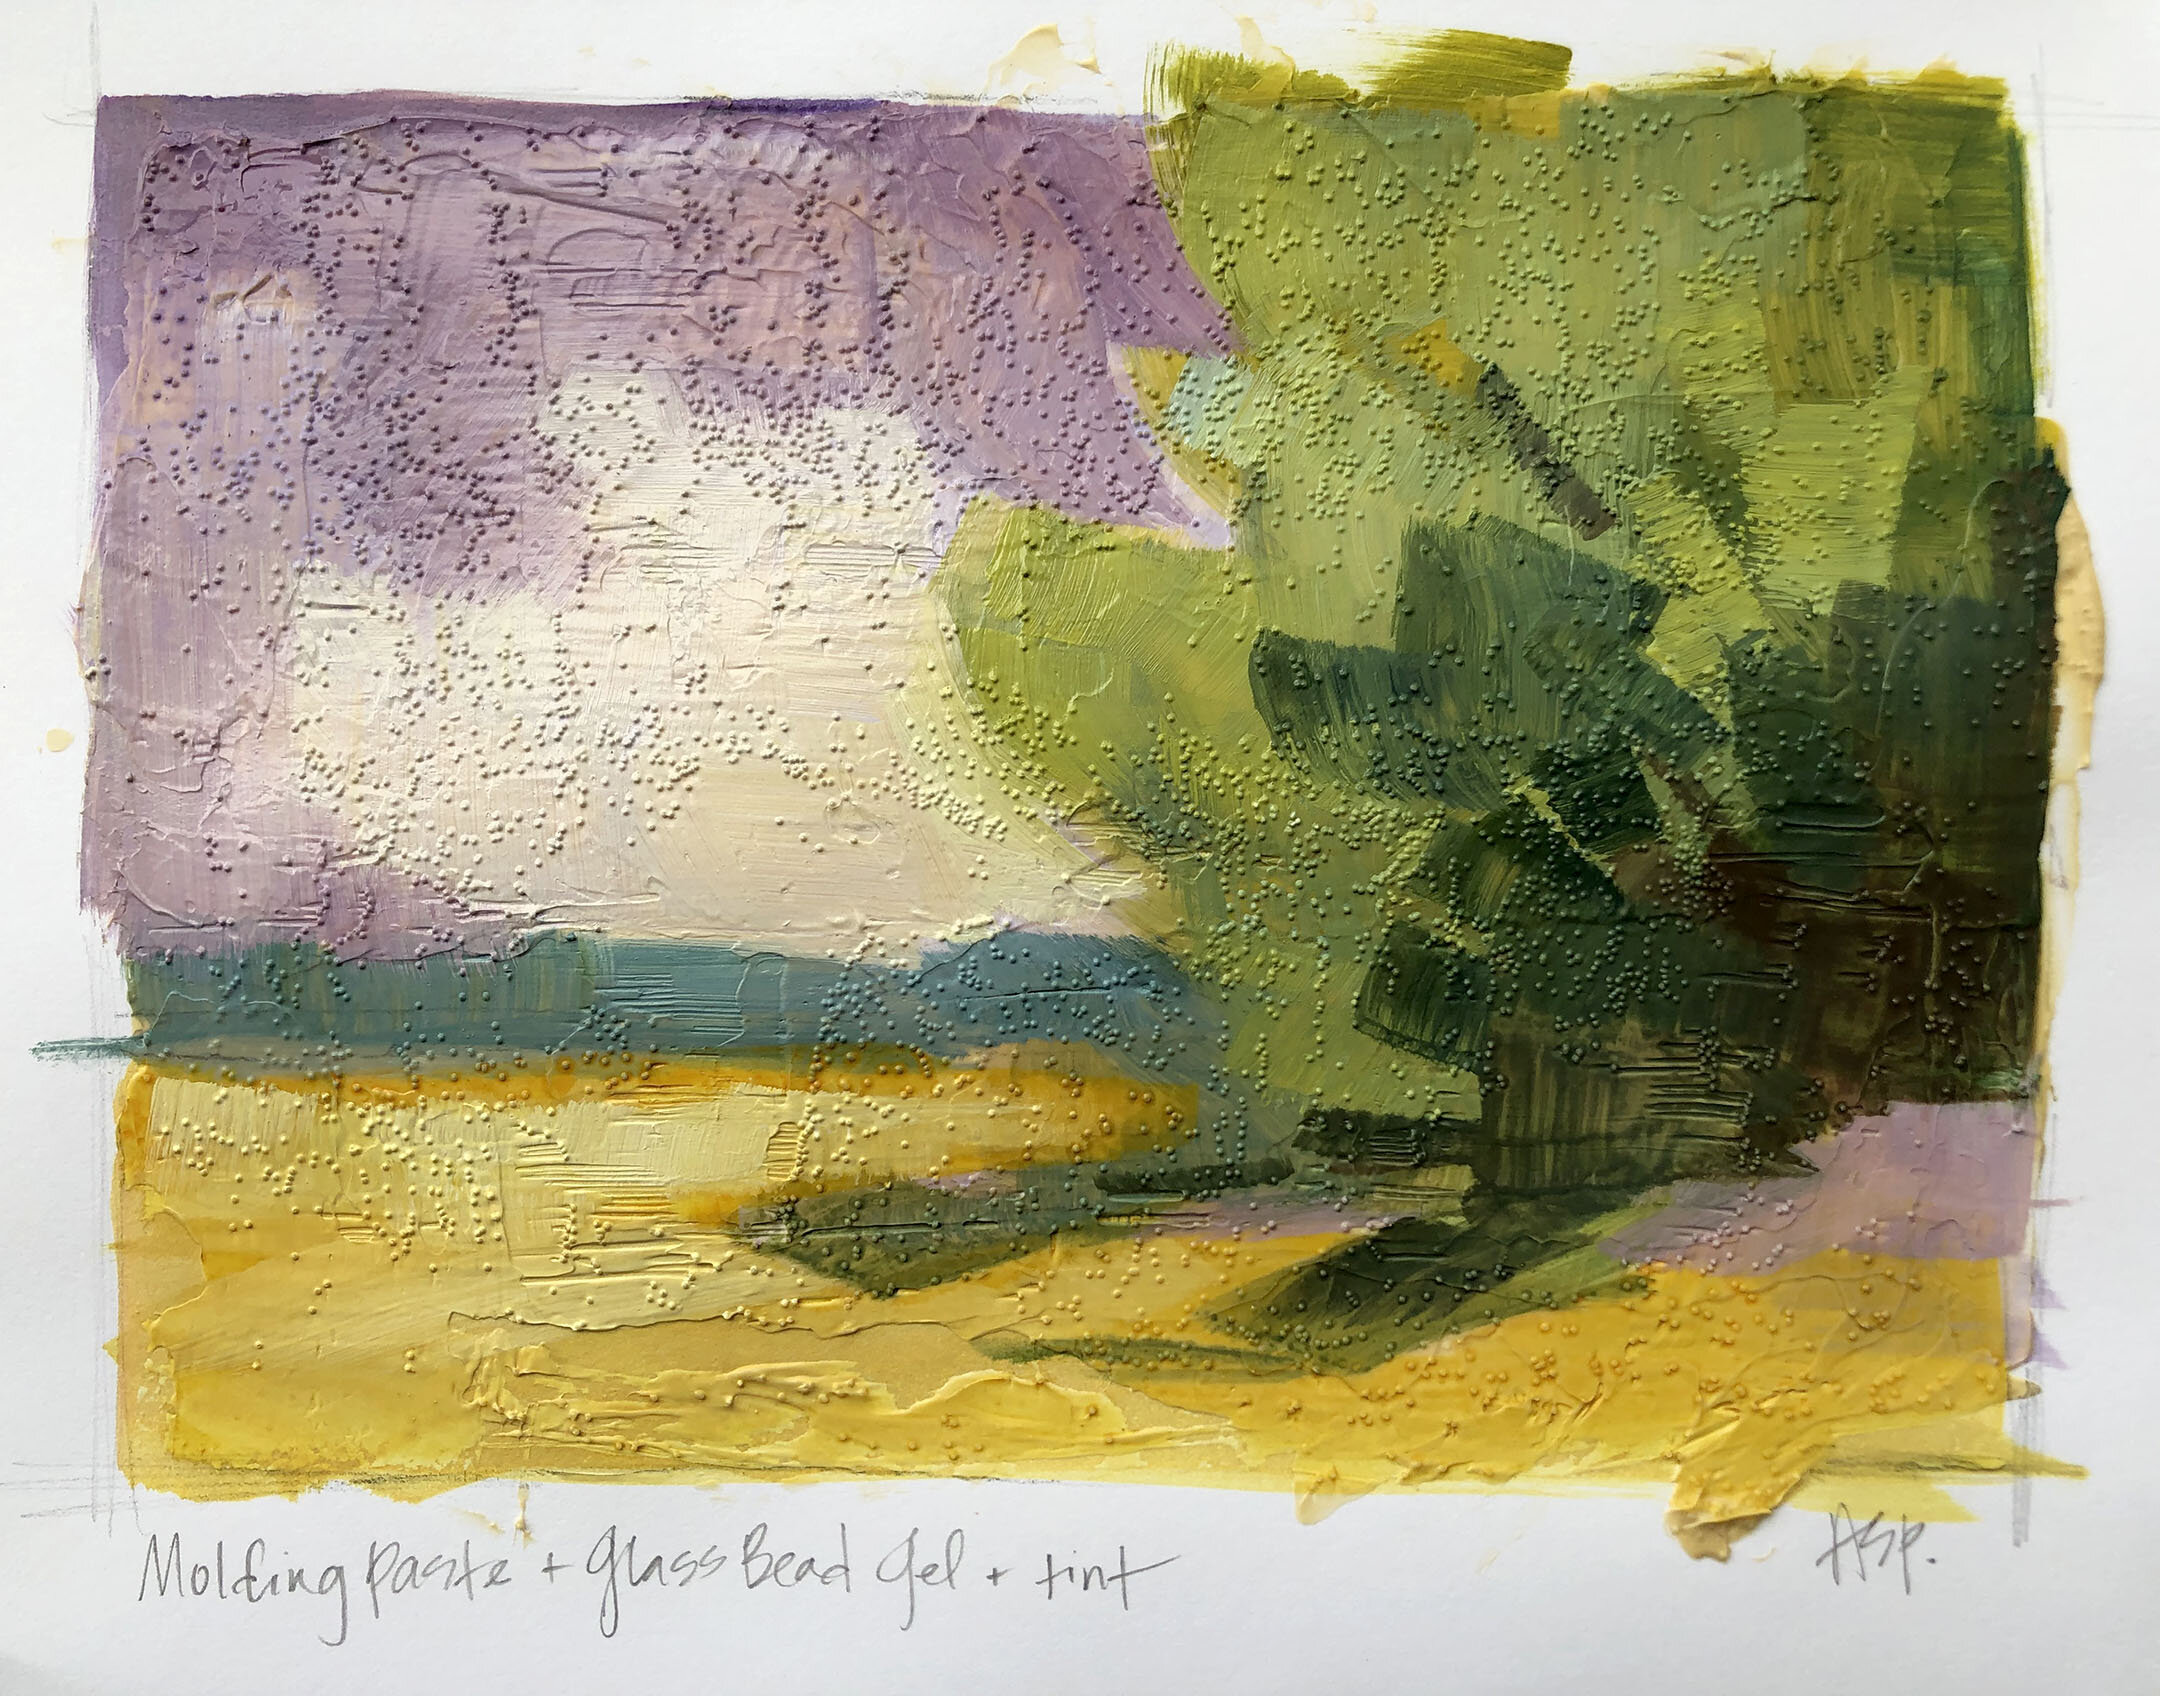
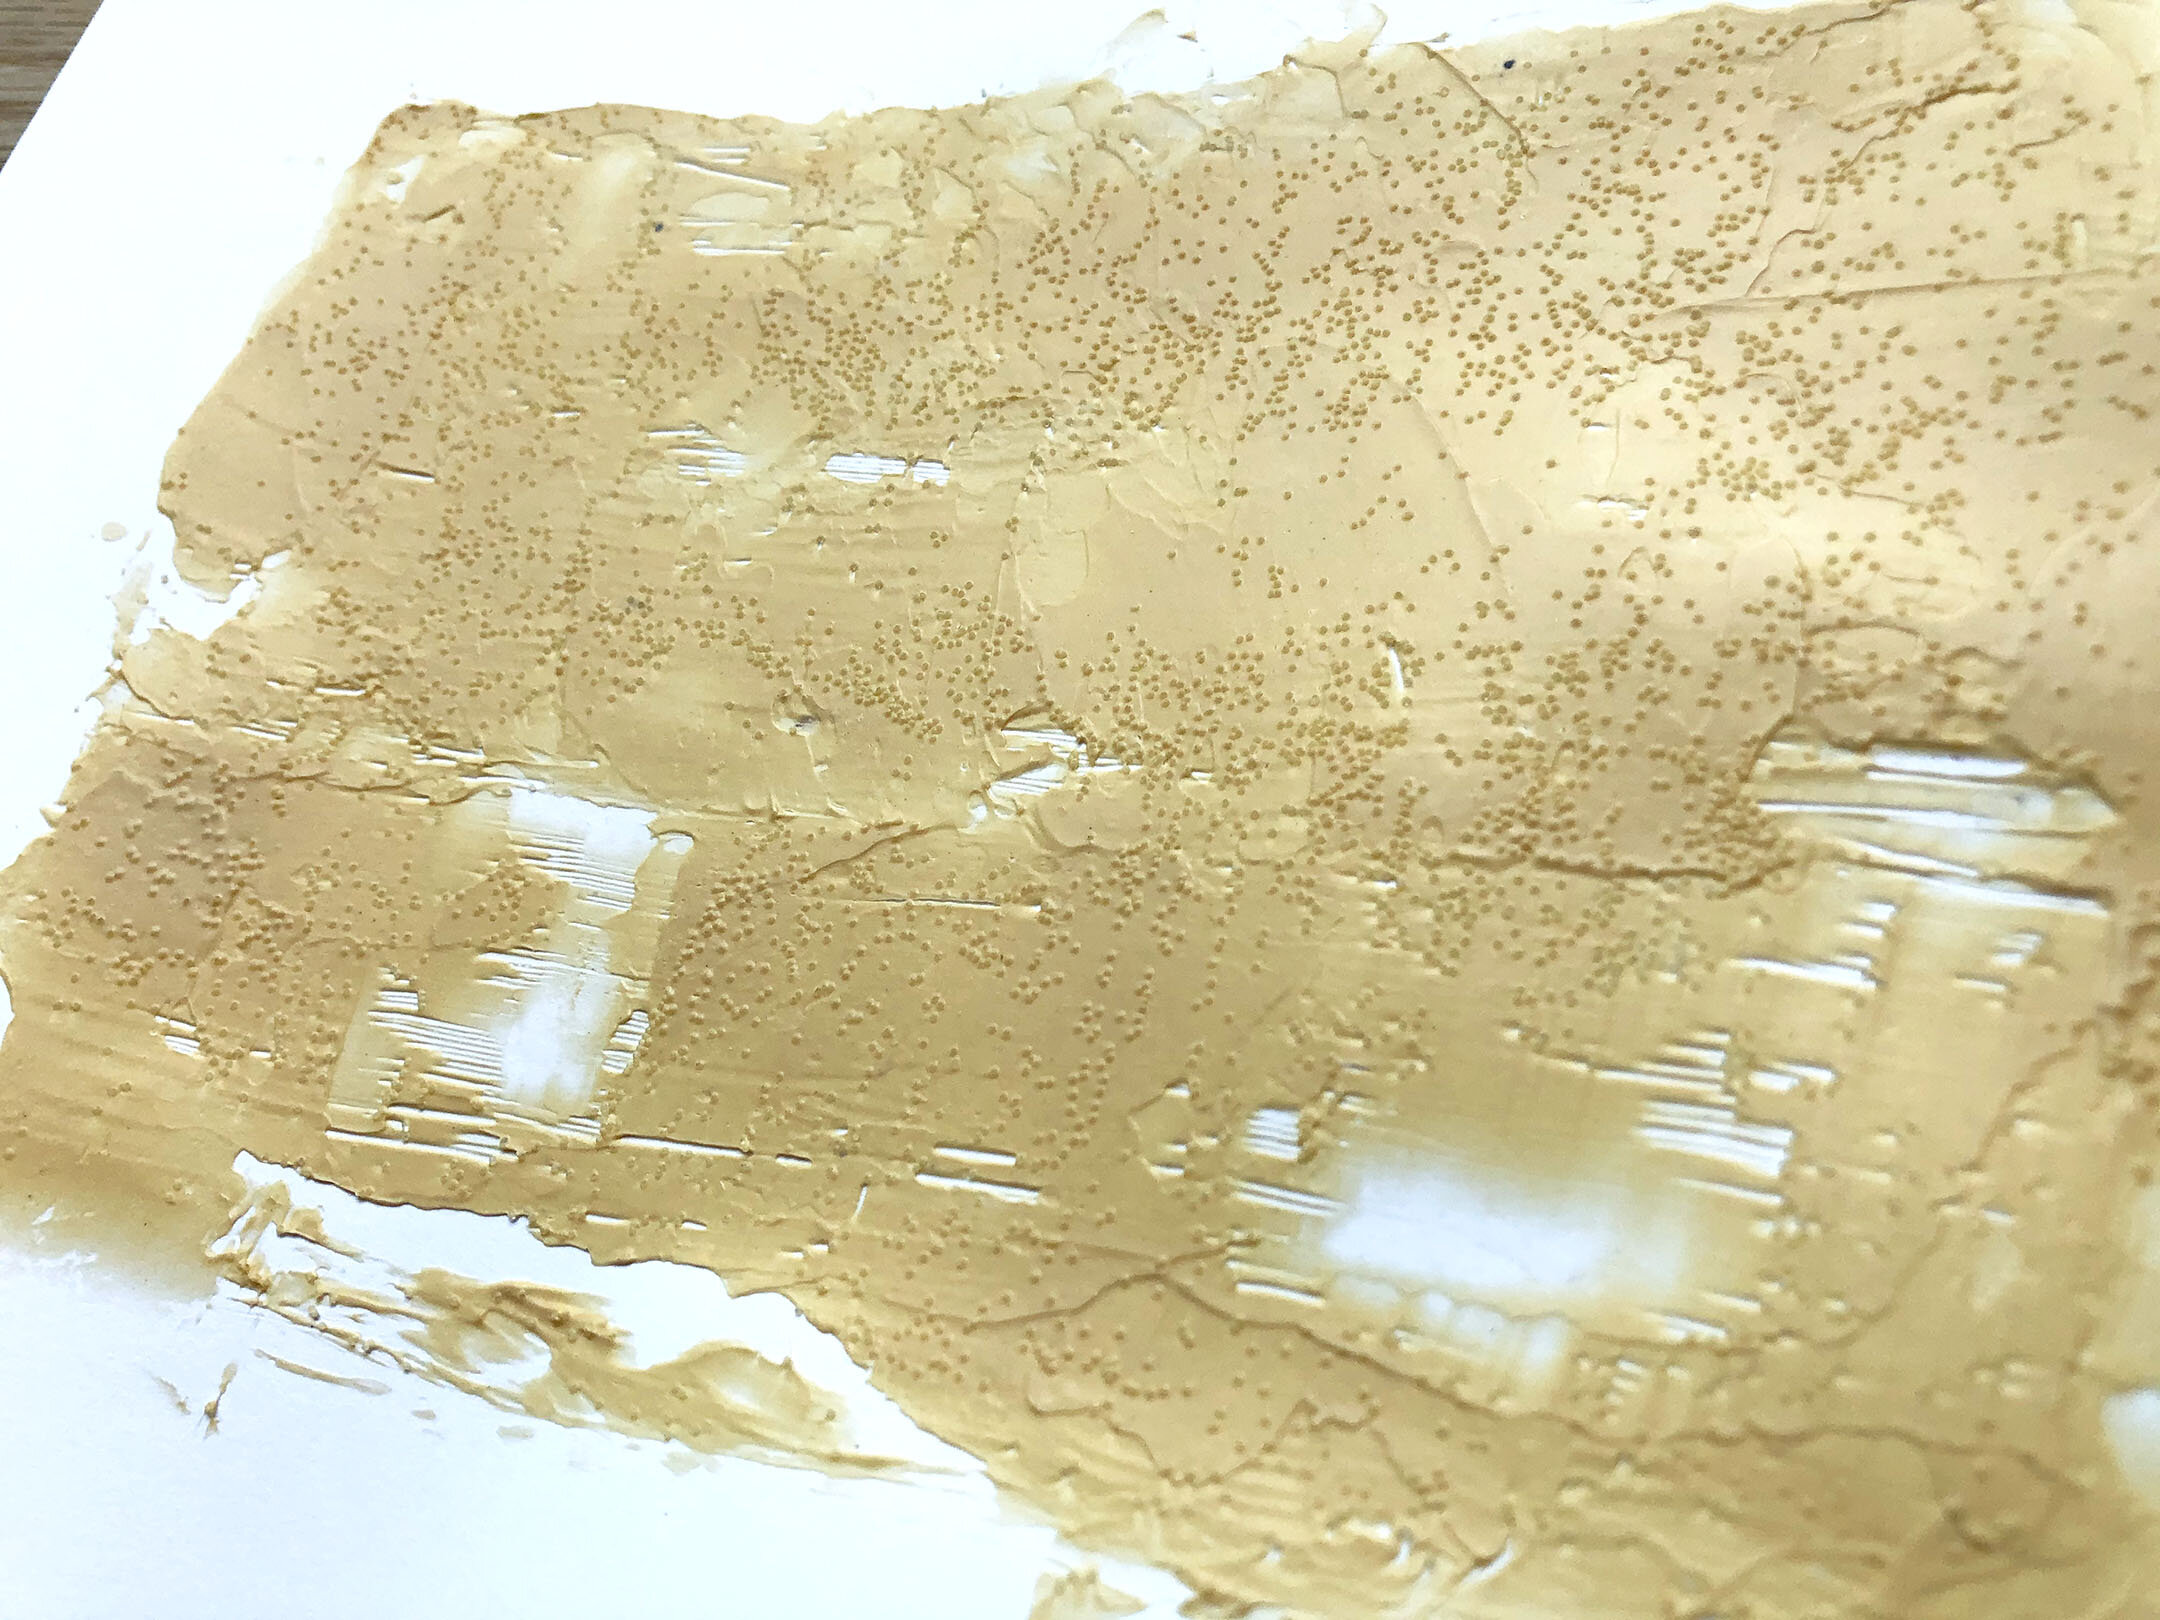
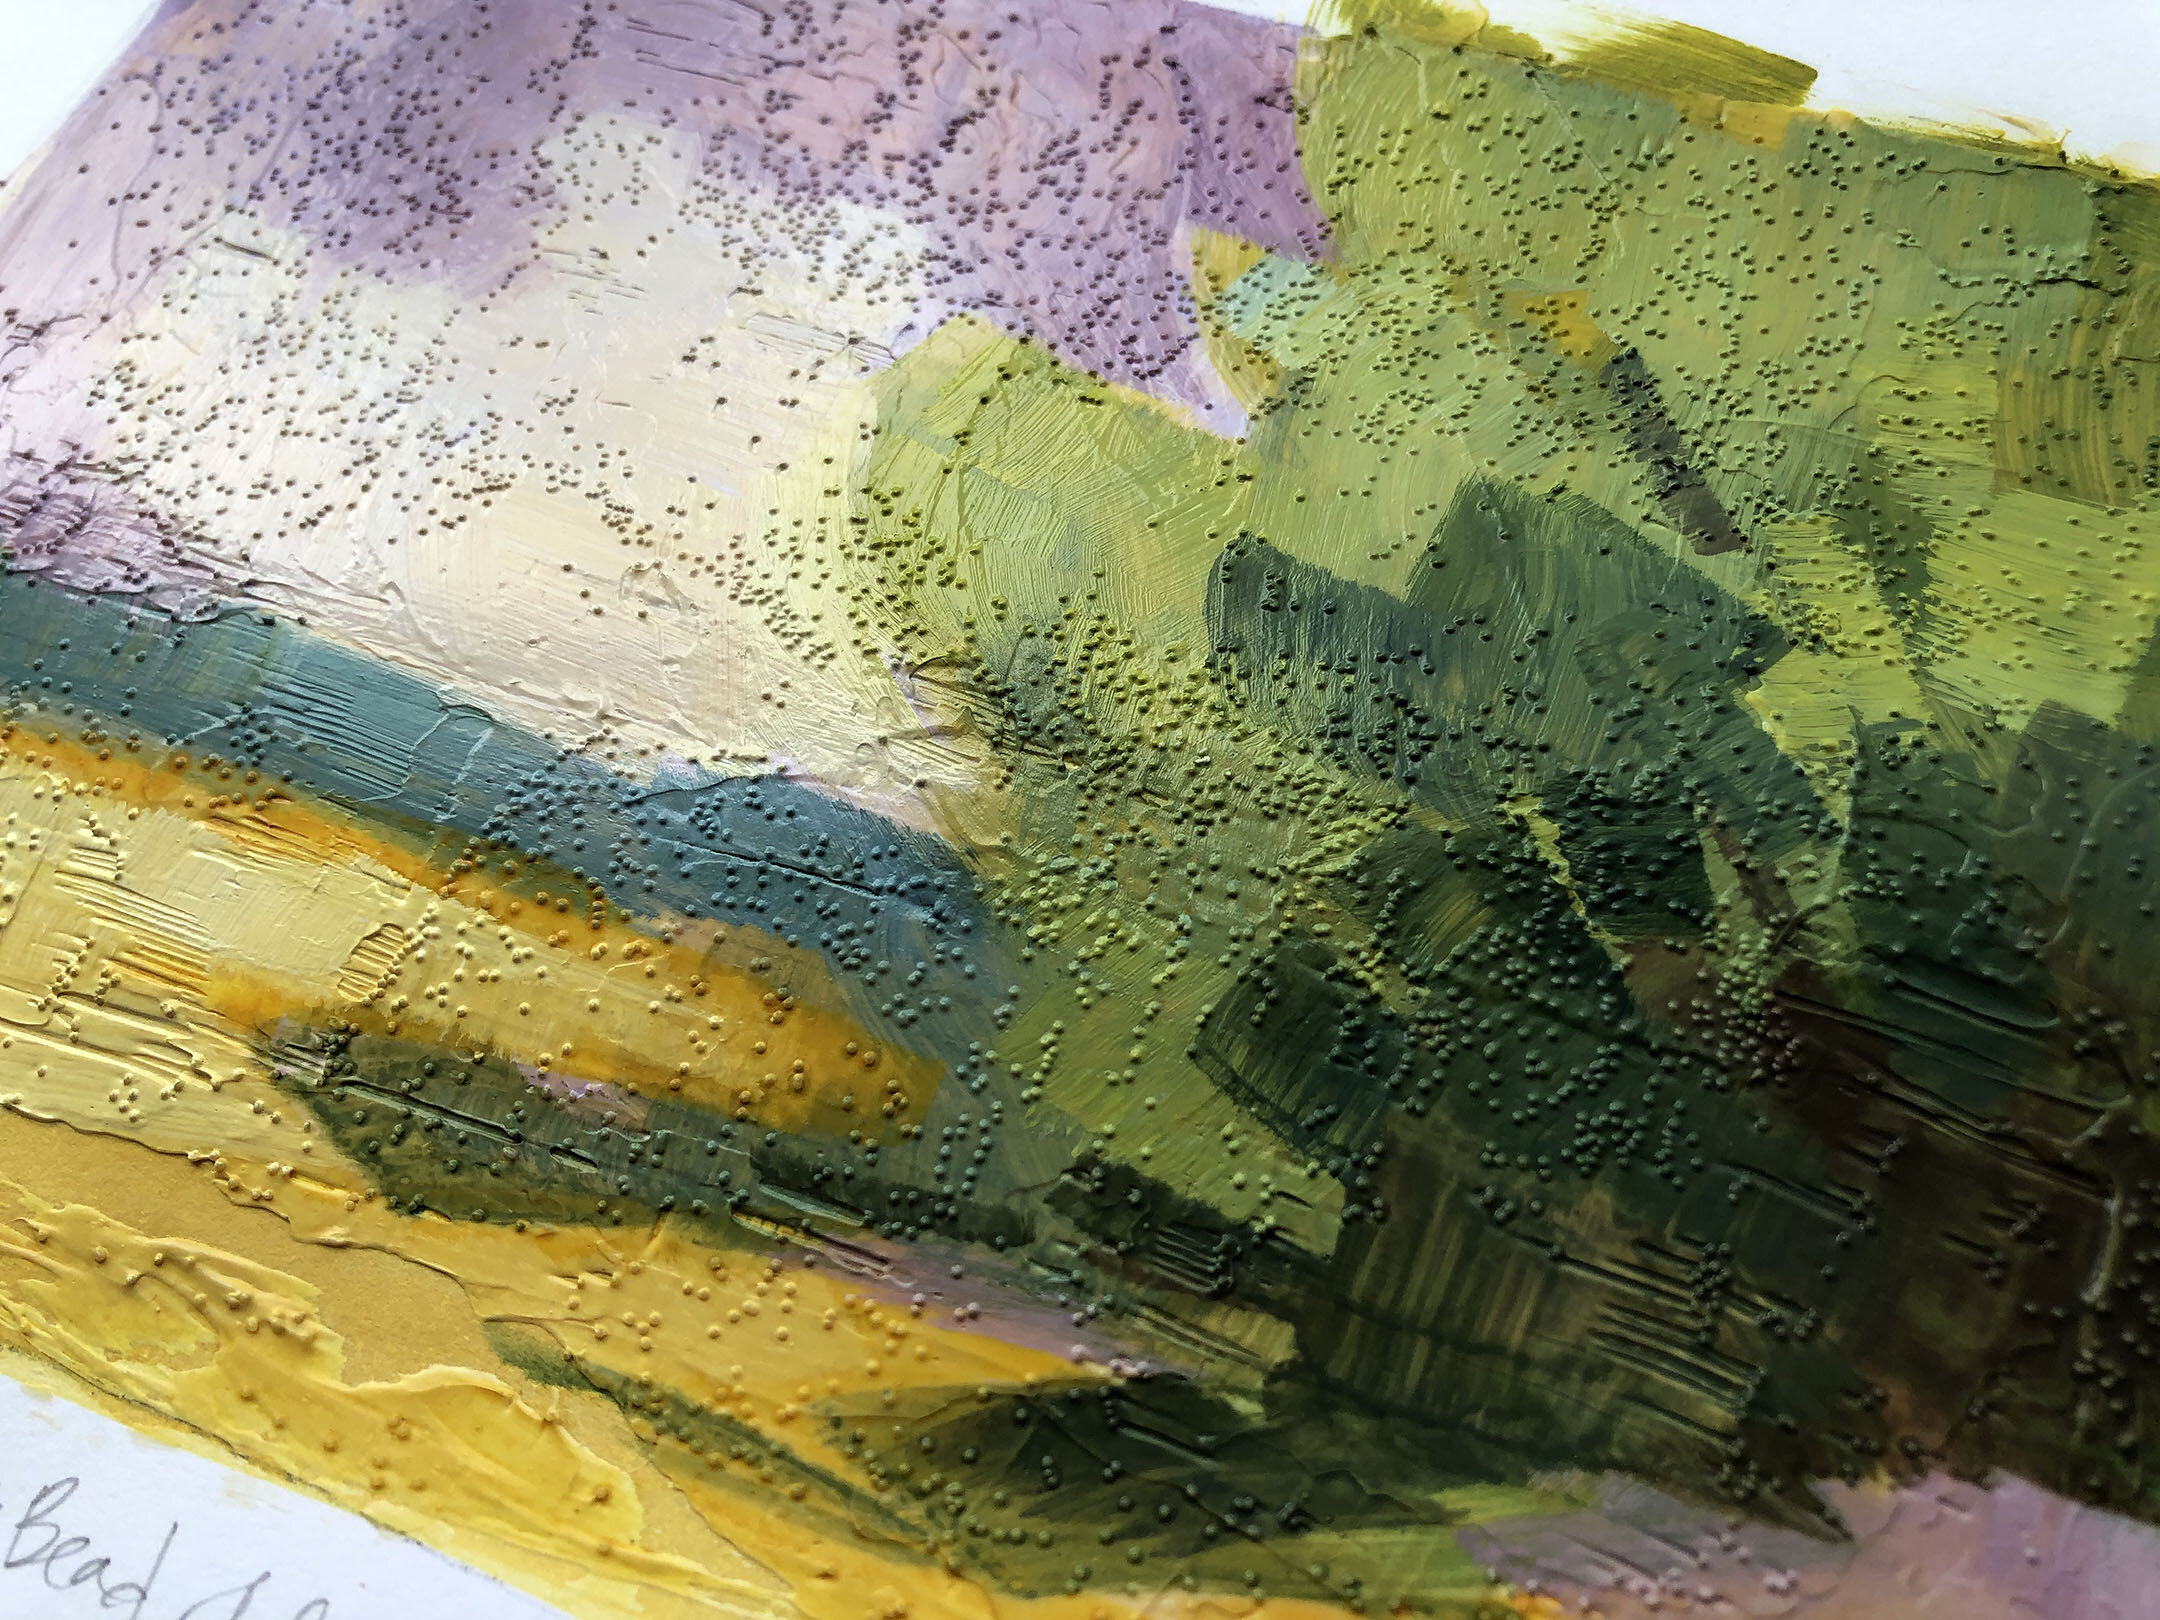
Building on the topic from my previous blog, you can oil paint on top of many acrylic surfaces. I love painting on GOLDEN Molding Paste, because you can create exciting textures with it, but it is a smooth paste, so oil paint glides beautifully on its surface. As long as the acrylic products are not too absorbent, spongey, or brittle, you can safely paint in oil over them. For my demo, I shared a “wet carved” surface that had three layers of Molding Paste mixed with color…the teal color had Phthalo Blue in it, so I made sure to also put some Phthalo in my oil paint layer to harmonize with the underpainting. Below you can see how the oil rests over the carved marks, I love this texture effect and its a great way to make the painting surface more unique.
Understand the Drying Rates of your Oil Colors
Oil colors dry at different rates, you will see this predominately in professional grade brands as they do not use added fillers that can affect drying. I paint with Williamsburg Oils and they have a great resource on their website for the drying rates of their colors…you should find this with other brands as well. This is one of the most important items I keep on my easel, to remind me if I reach for a new color, I know what to expect from it when drying: https://goldenhub.goldenpaints.com/storage/uploads/williamsburg-drytime-chart-091818.pdf
My palette below has mostly “fast” to “medium” drying colors (Cadmiums, Ultramarine Blue, Titanium White), with Quinacridone Magenta and Phthalo Blue as the “slow” ones. Your faster drying colors can speed the drying of other colors as they are mixed, and because I’m using hardly any pure Phthalo or Quin, their drying rates will speed up as I blend and mix them with the rest of my palette.

Work between analogous or similar value colors to limit the need for extra brush cleaning
Brush cleaning adds a tricky element to the painting process for a variety of reasons. If you decide to use solvents for clean up, it introduces toxic materials into your studio, you need proper ventilation and air cleaning, etc… but even if you are cleaning brushes with oils (as I do, see my number 5 below), it can leave extra oil in the brush that adds to your paint layer and loosens the feel of your paint.
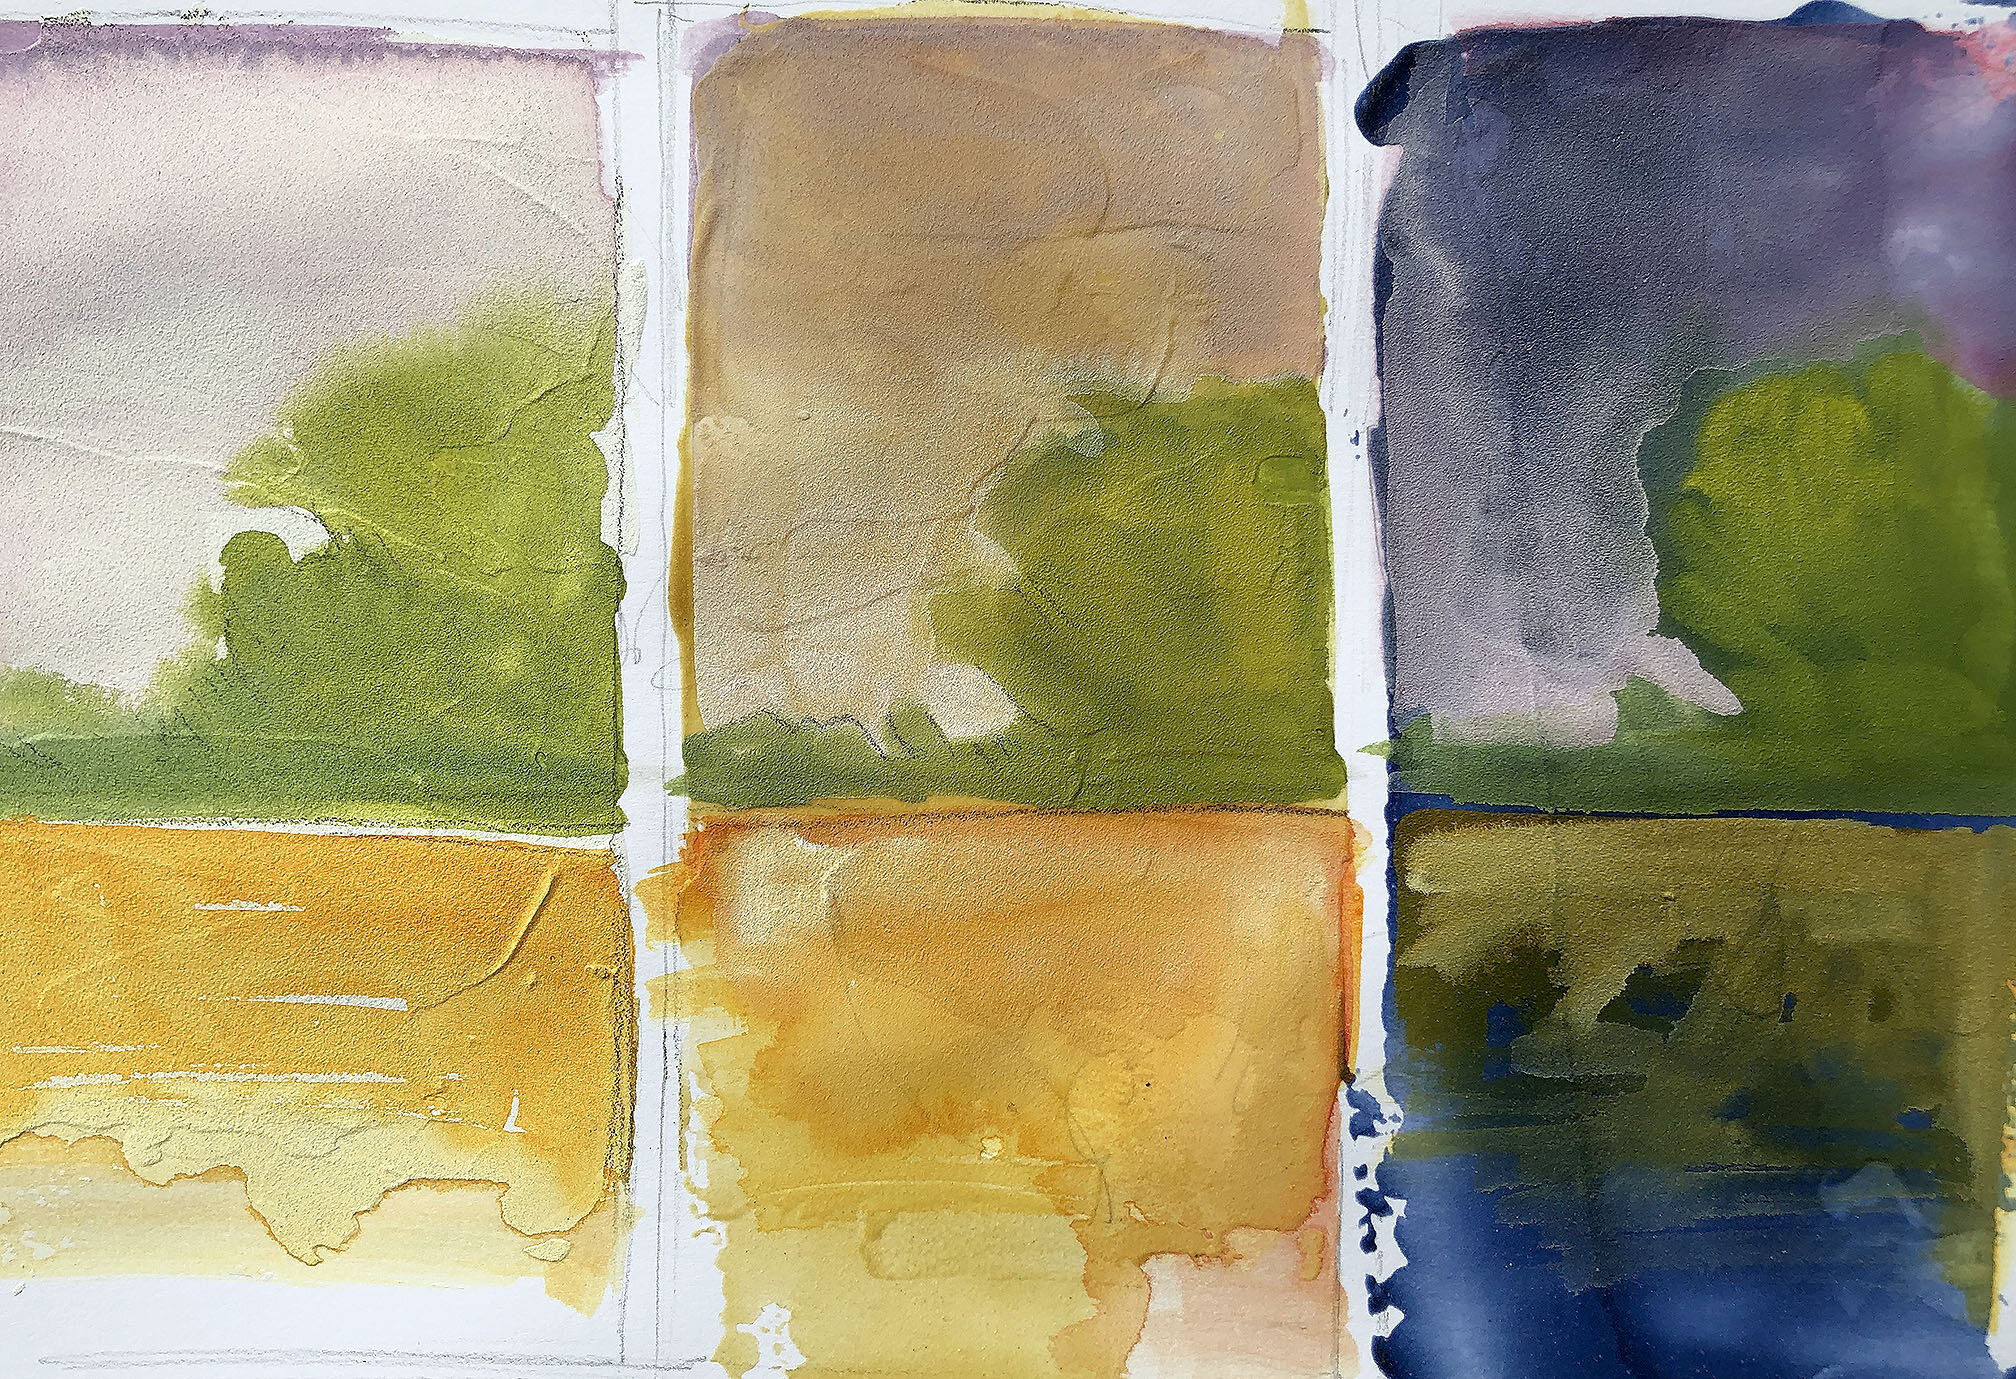
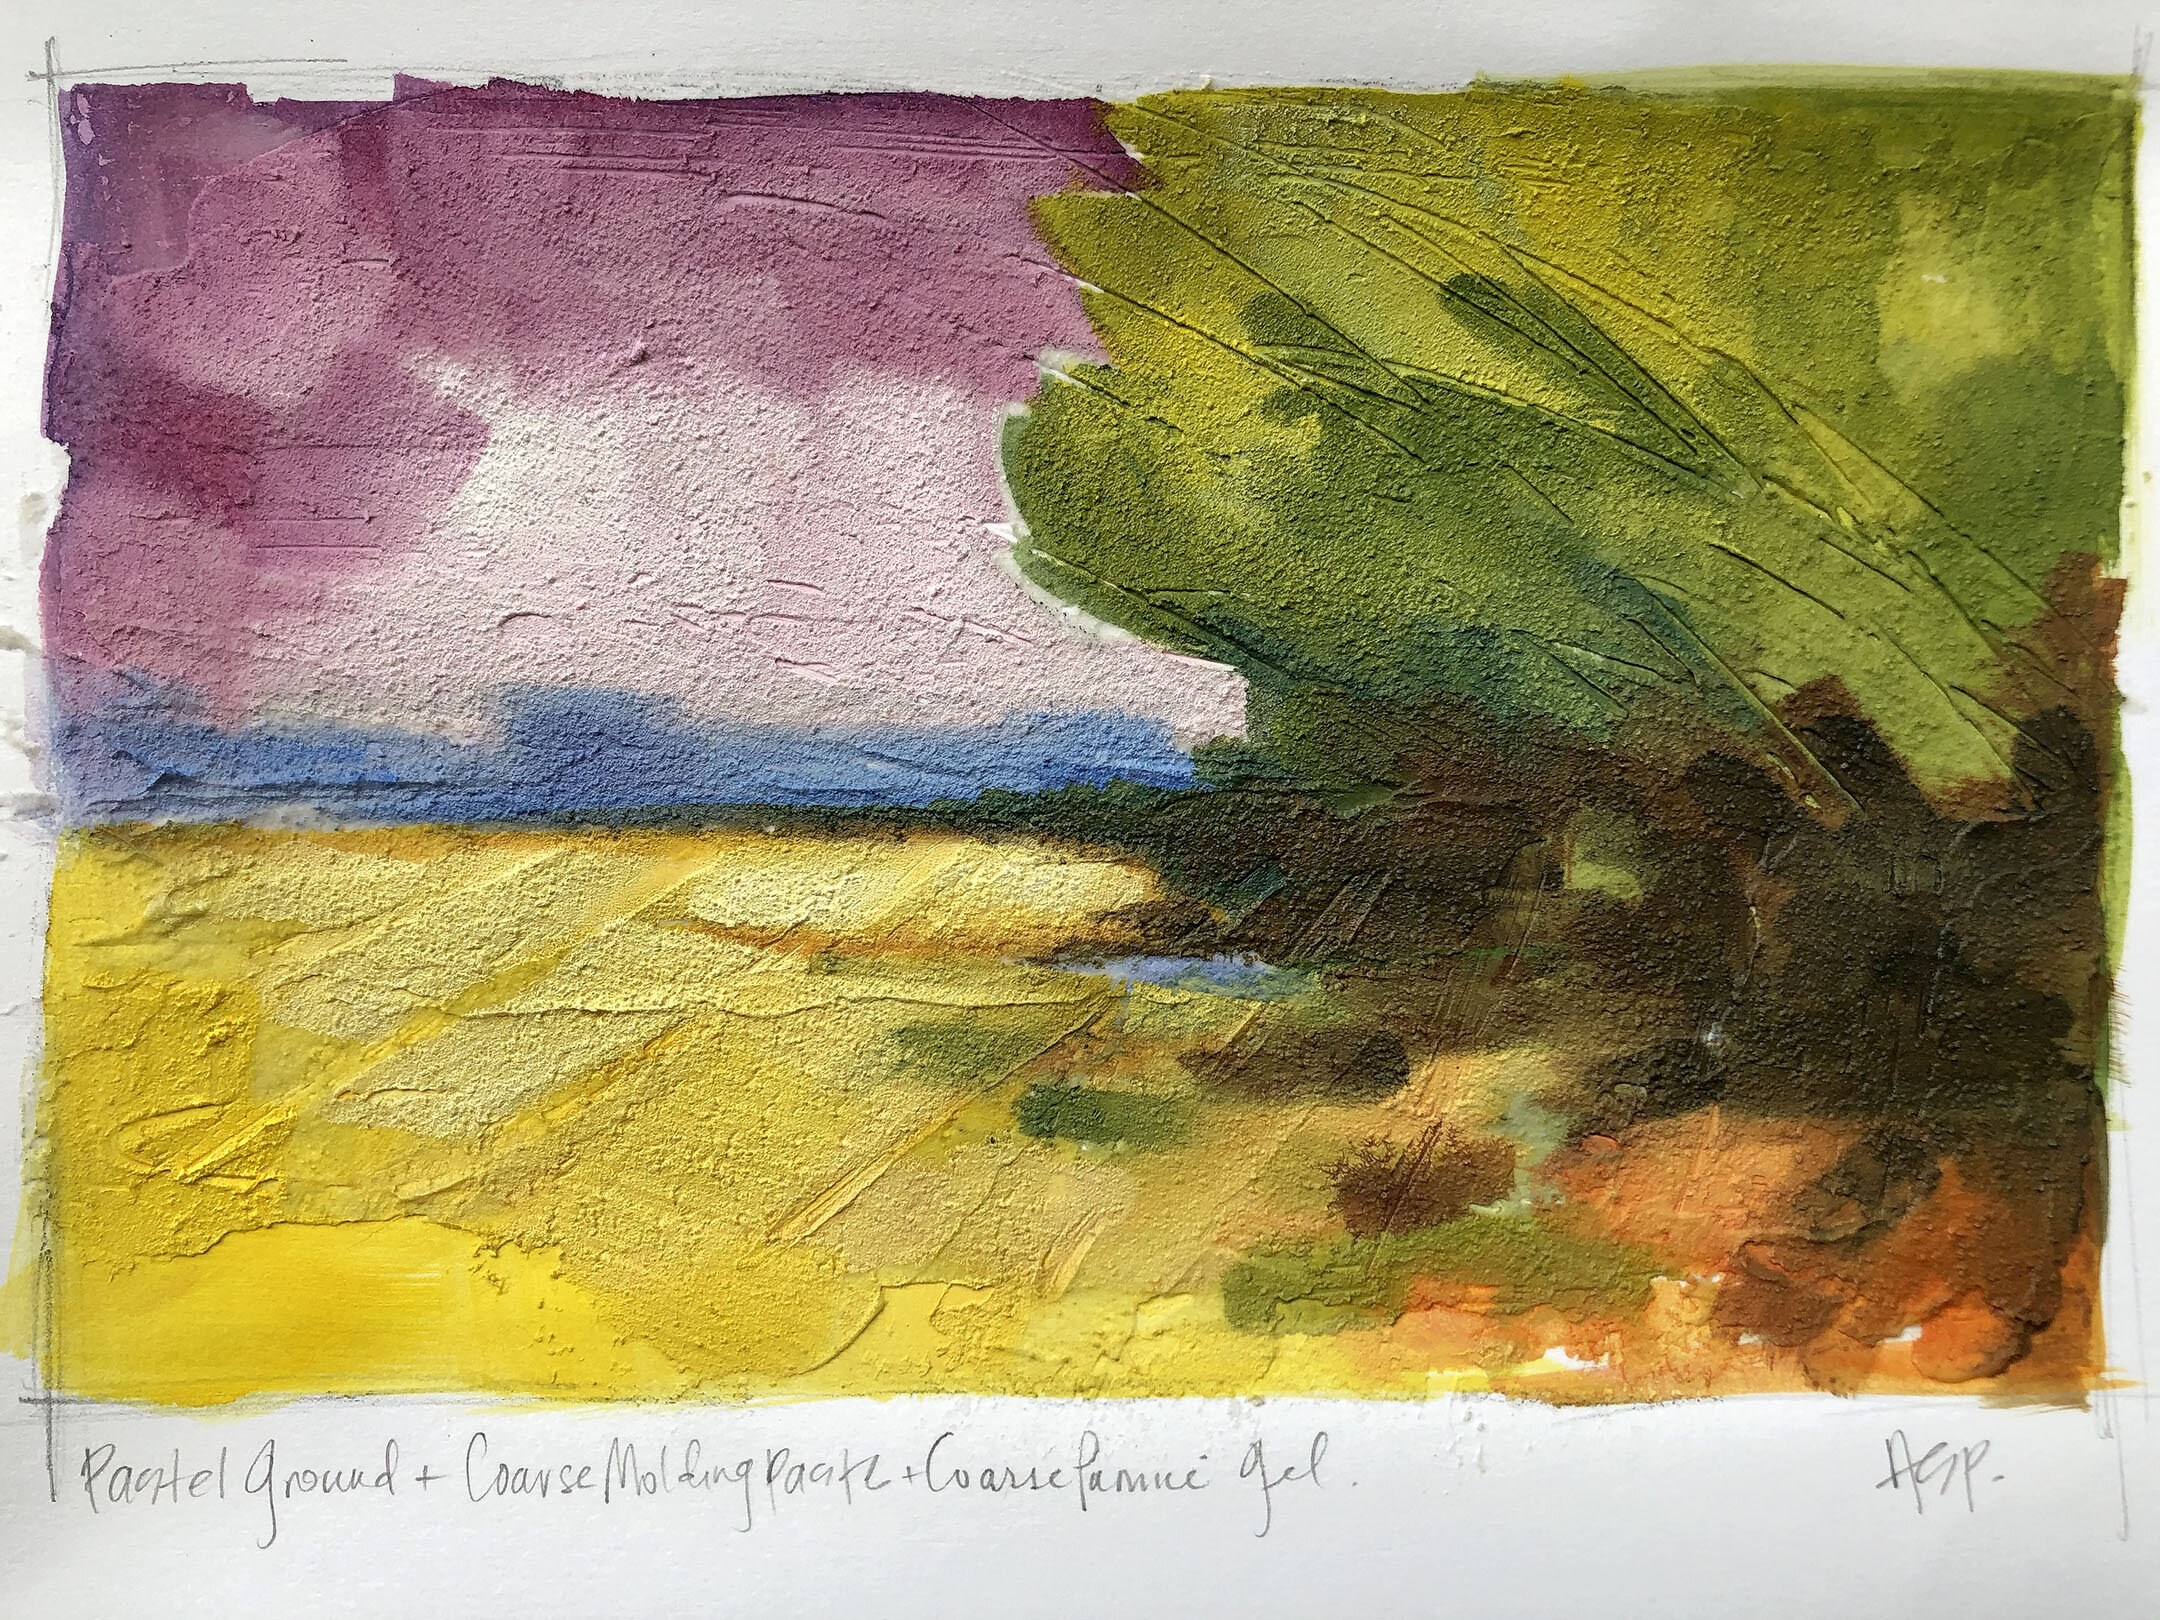
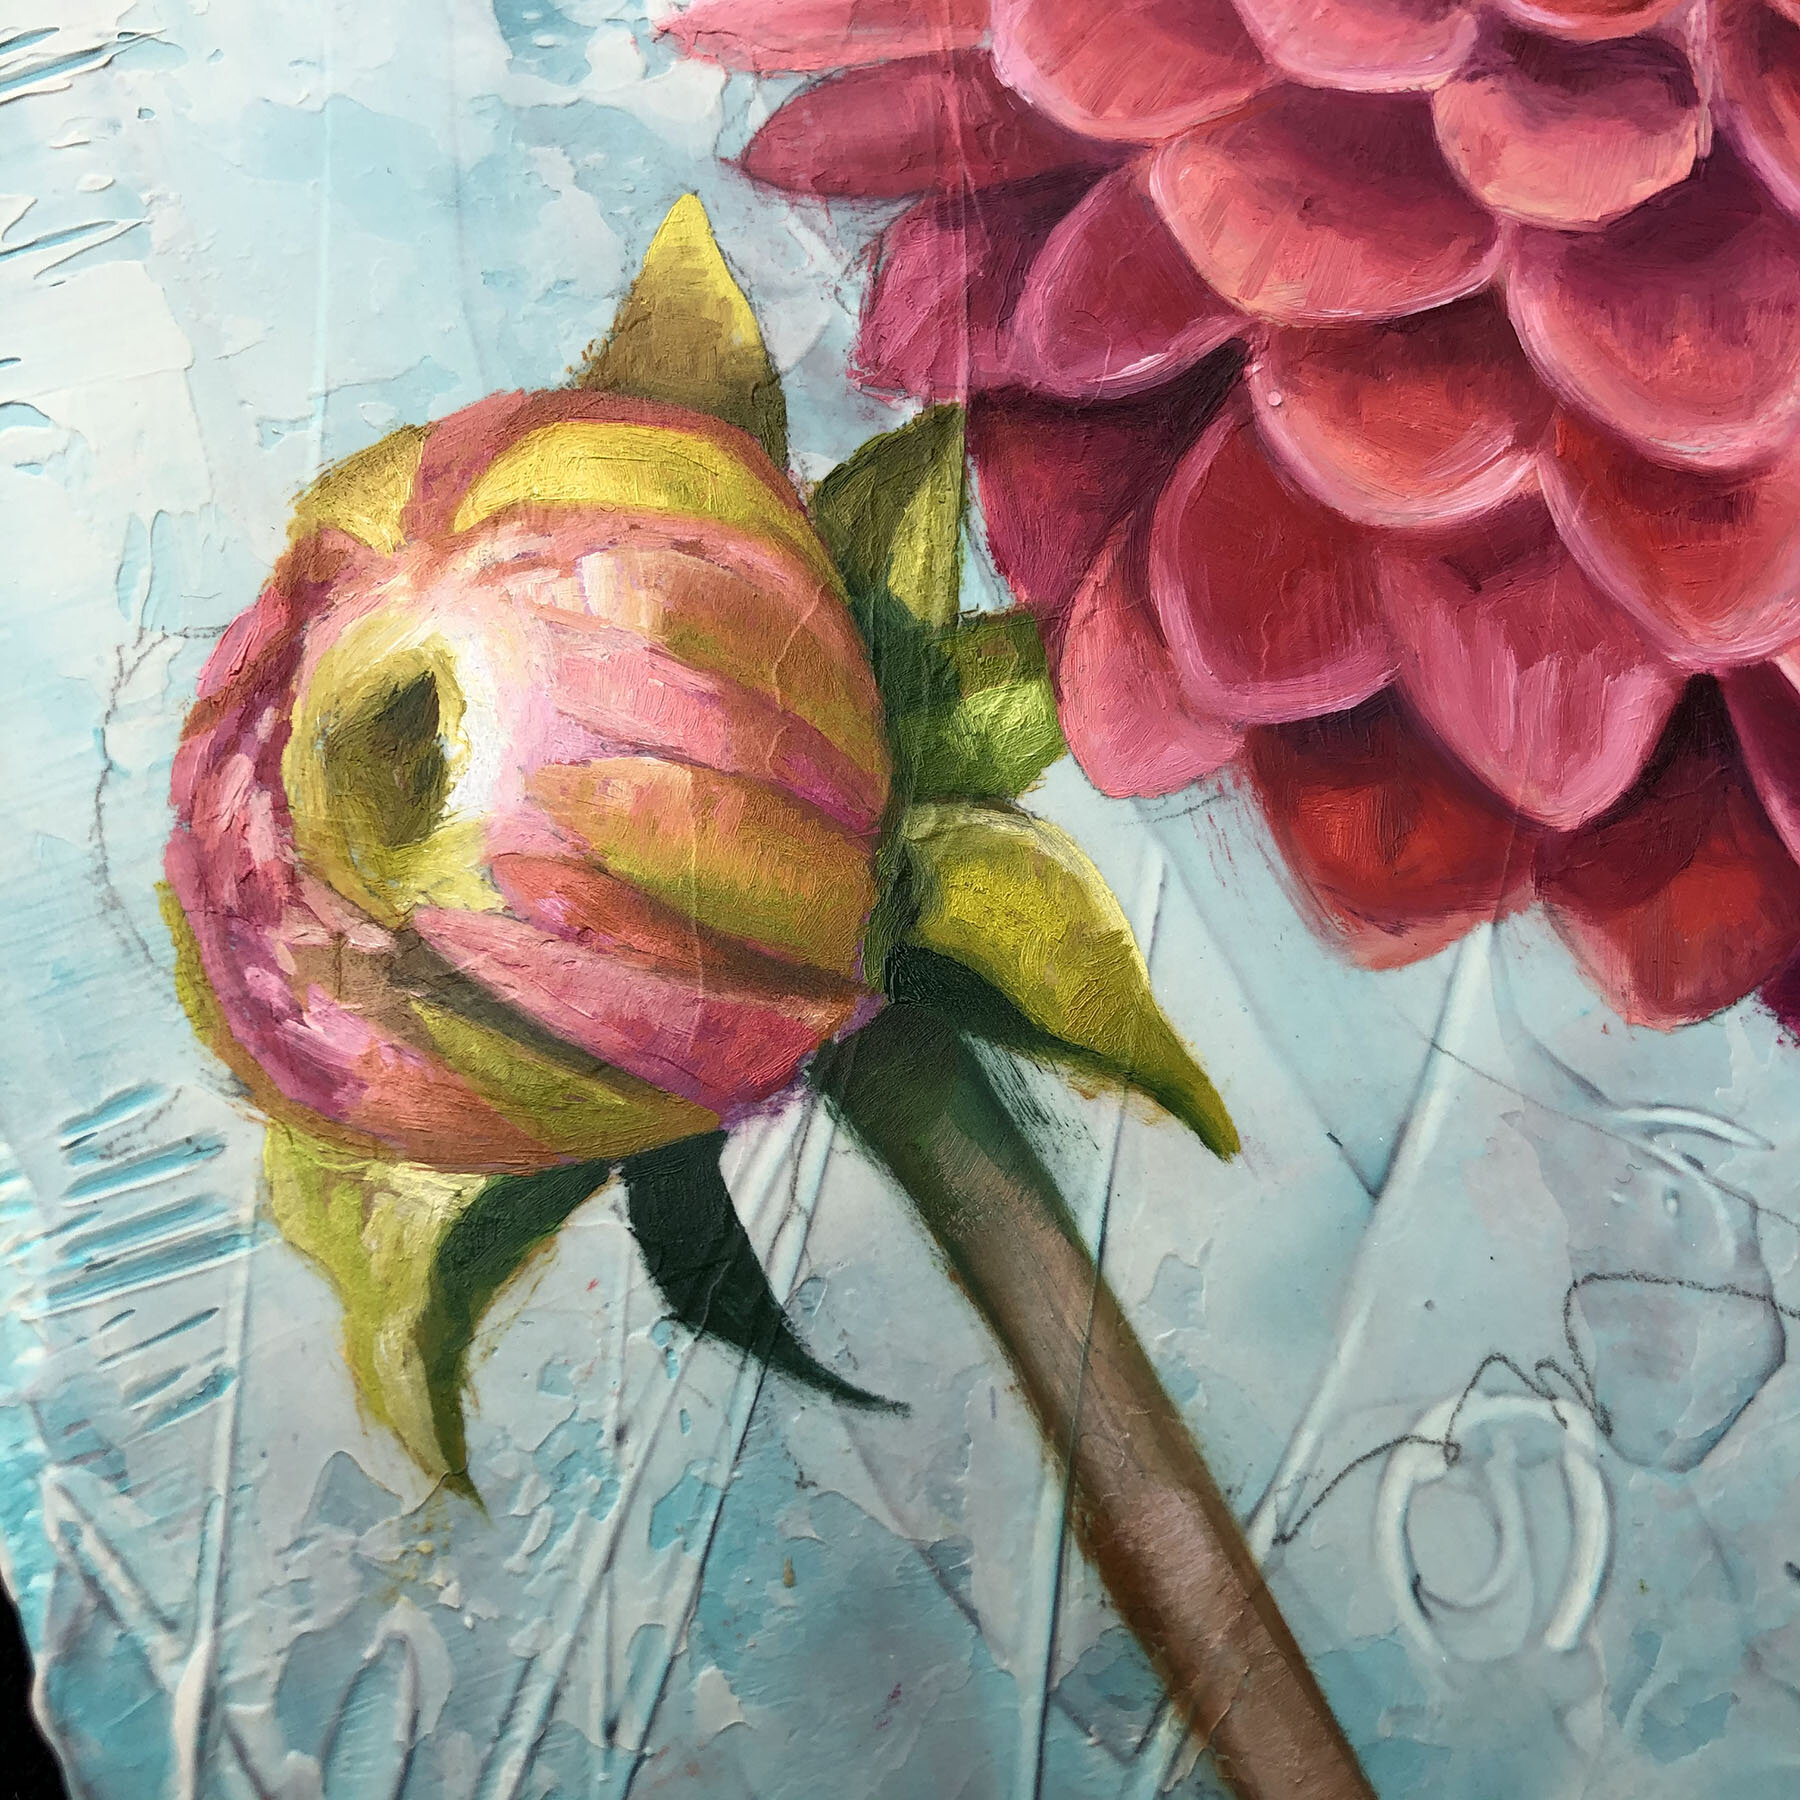
I like to use my brushes as much as I can before I need to clean them and to make that process easier, I will either have certain brushes I use for a set of value ranges (ie: brush for lights, brush for darks) OR, and this happens most often, I’ll work my brushes between analogous colors to keep the colors cleaner and plug those colors in where I see them all over the painting, in big or small notes. before moving onto the next color scheme. In my video you will see how I do this, but also I can transition from something like a red to a green on the same brush by first mixing a brown between the two of them, applying that mixture in areas of the painting, then when the brush runs out of brown, pick up the clean green. I also scumble my brushes on a towel or rag in between color passes to work out muddy colors. The image just below is my first area of blends on this demo painting - I’ve kept mainly reds and oranges in the brush, mixed down to lighter values.

Paint without (or with minimal) mediums
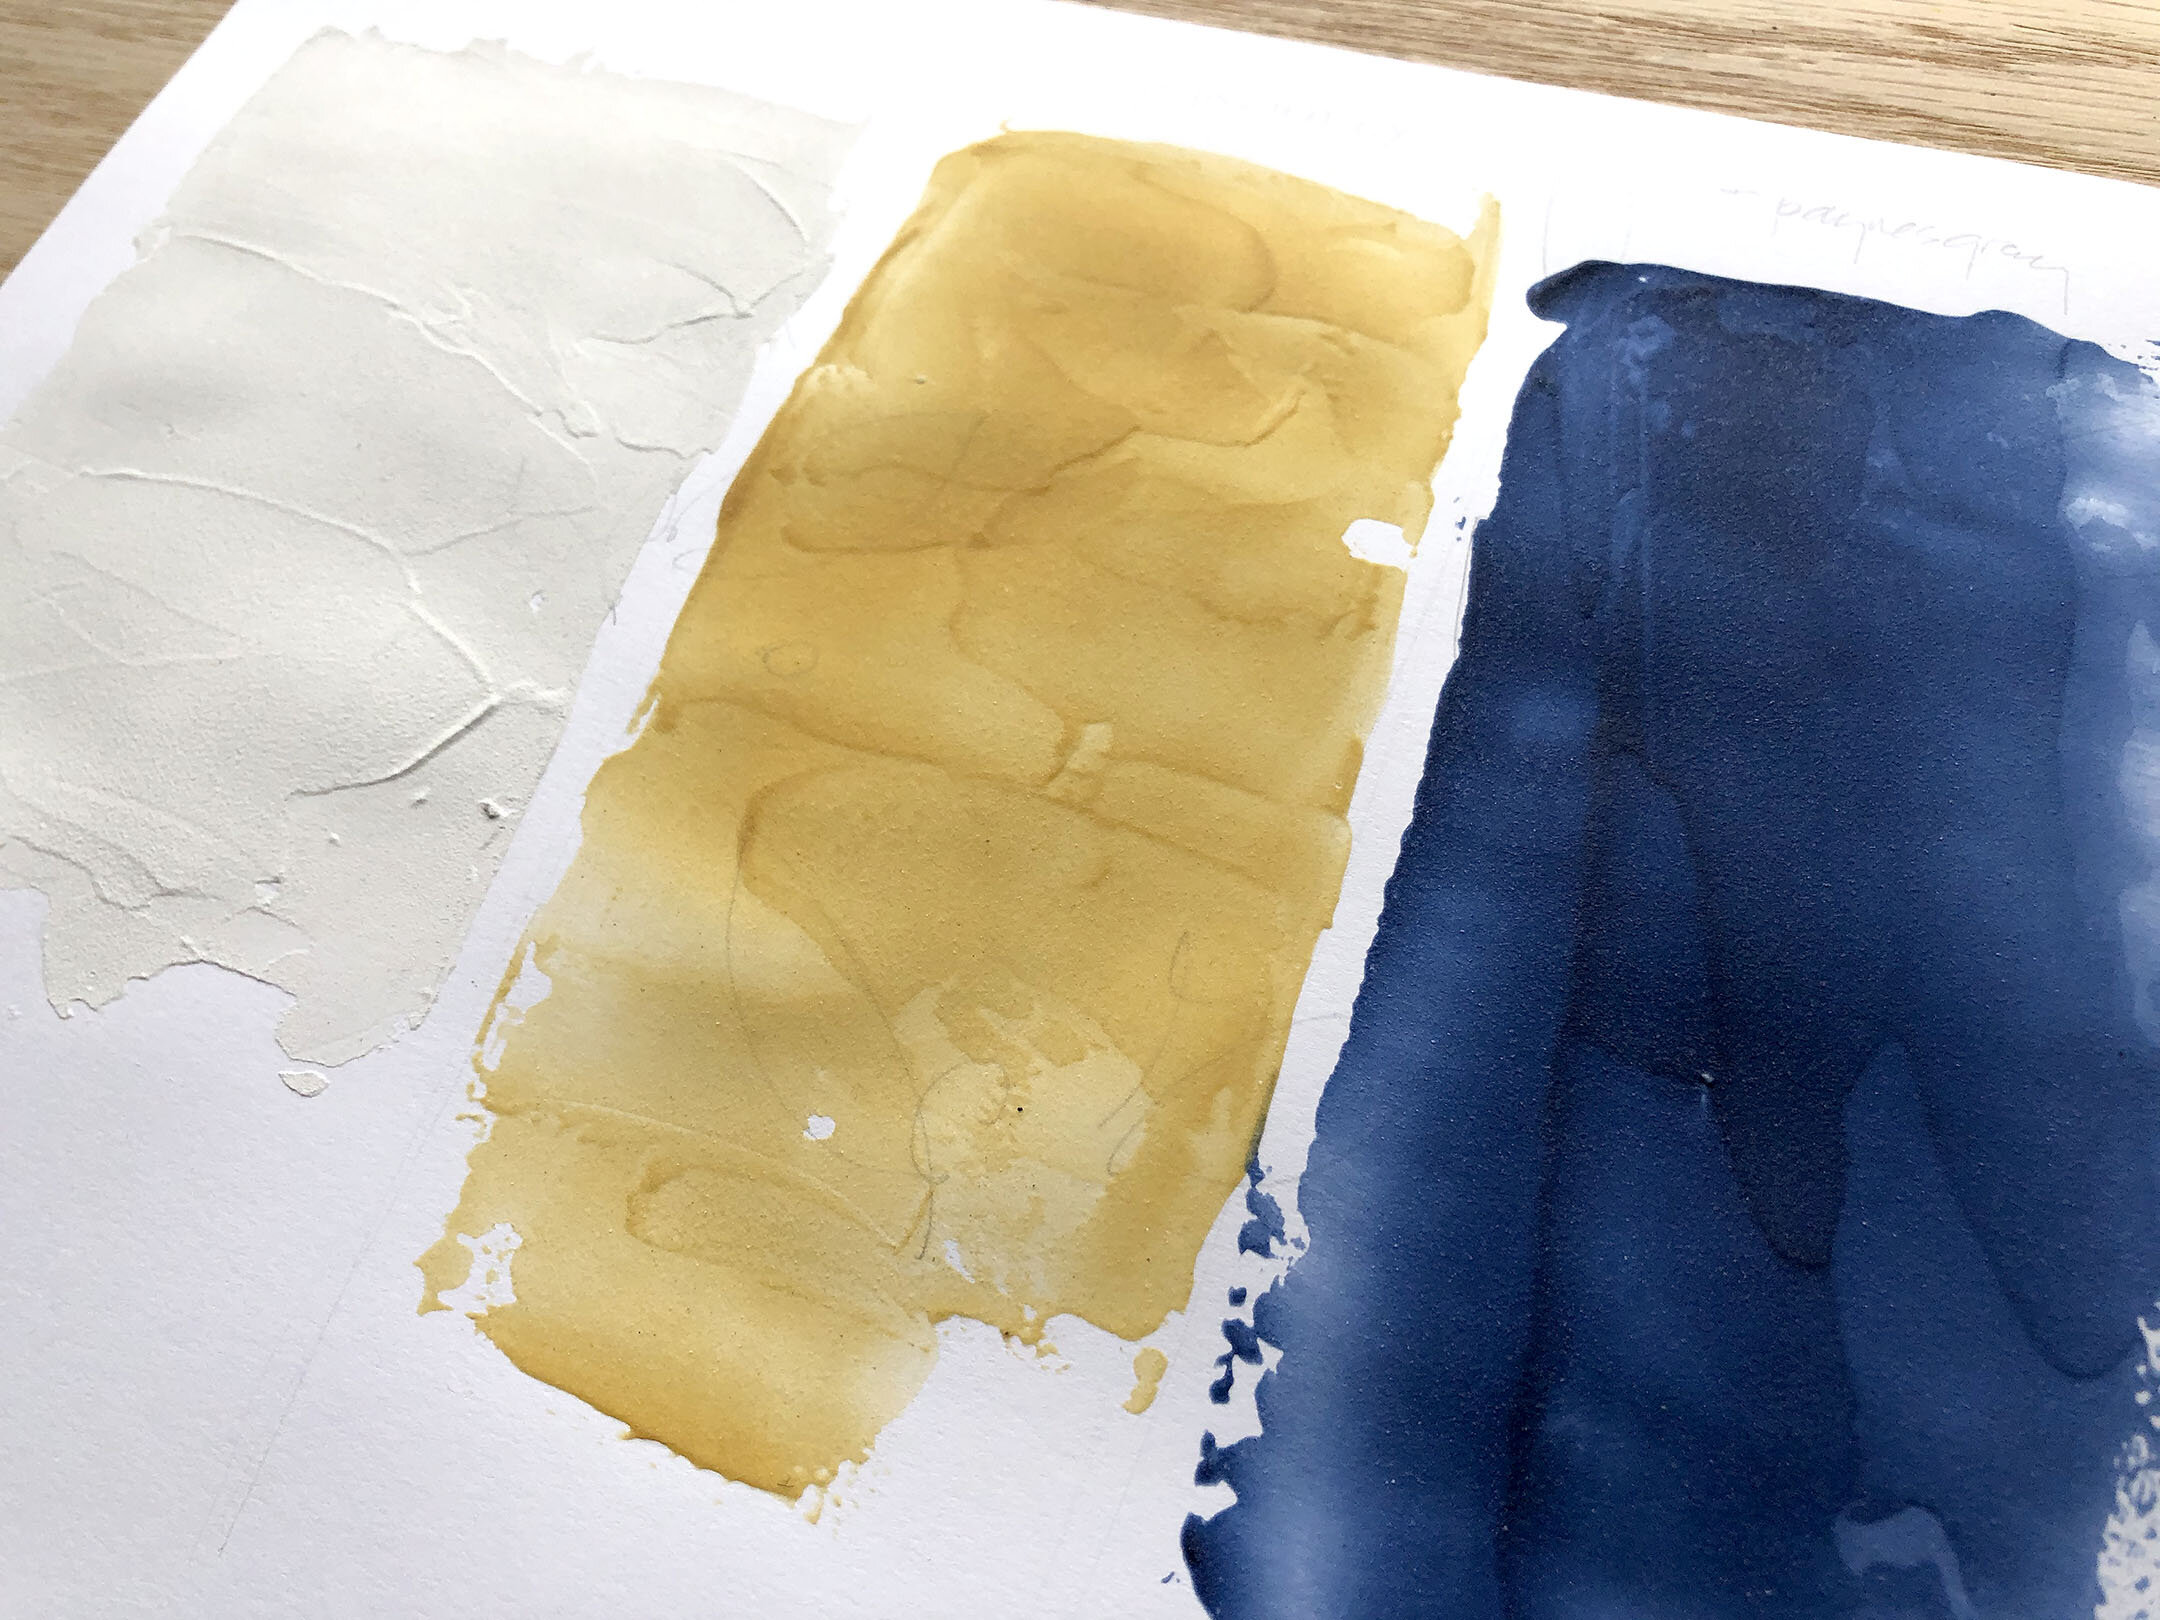
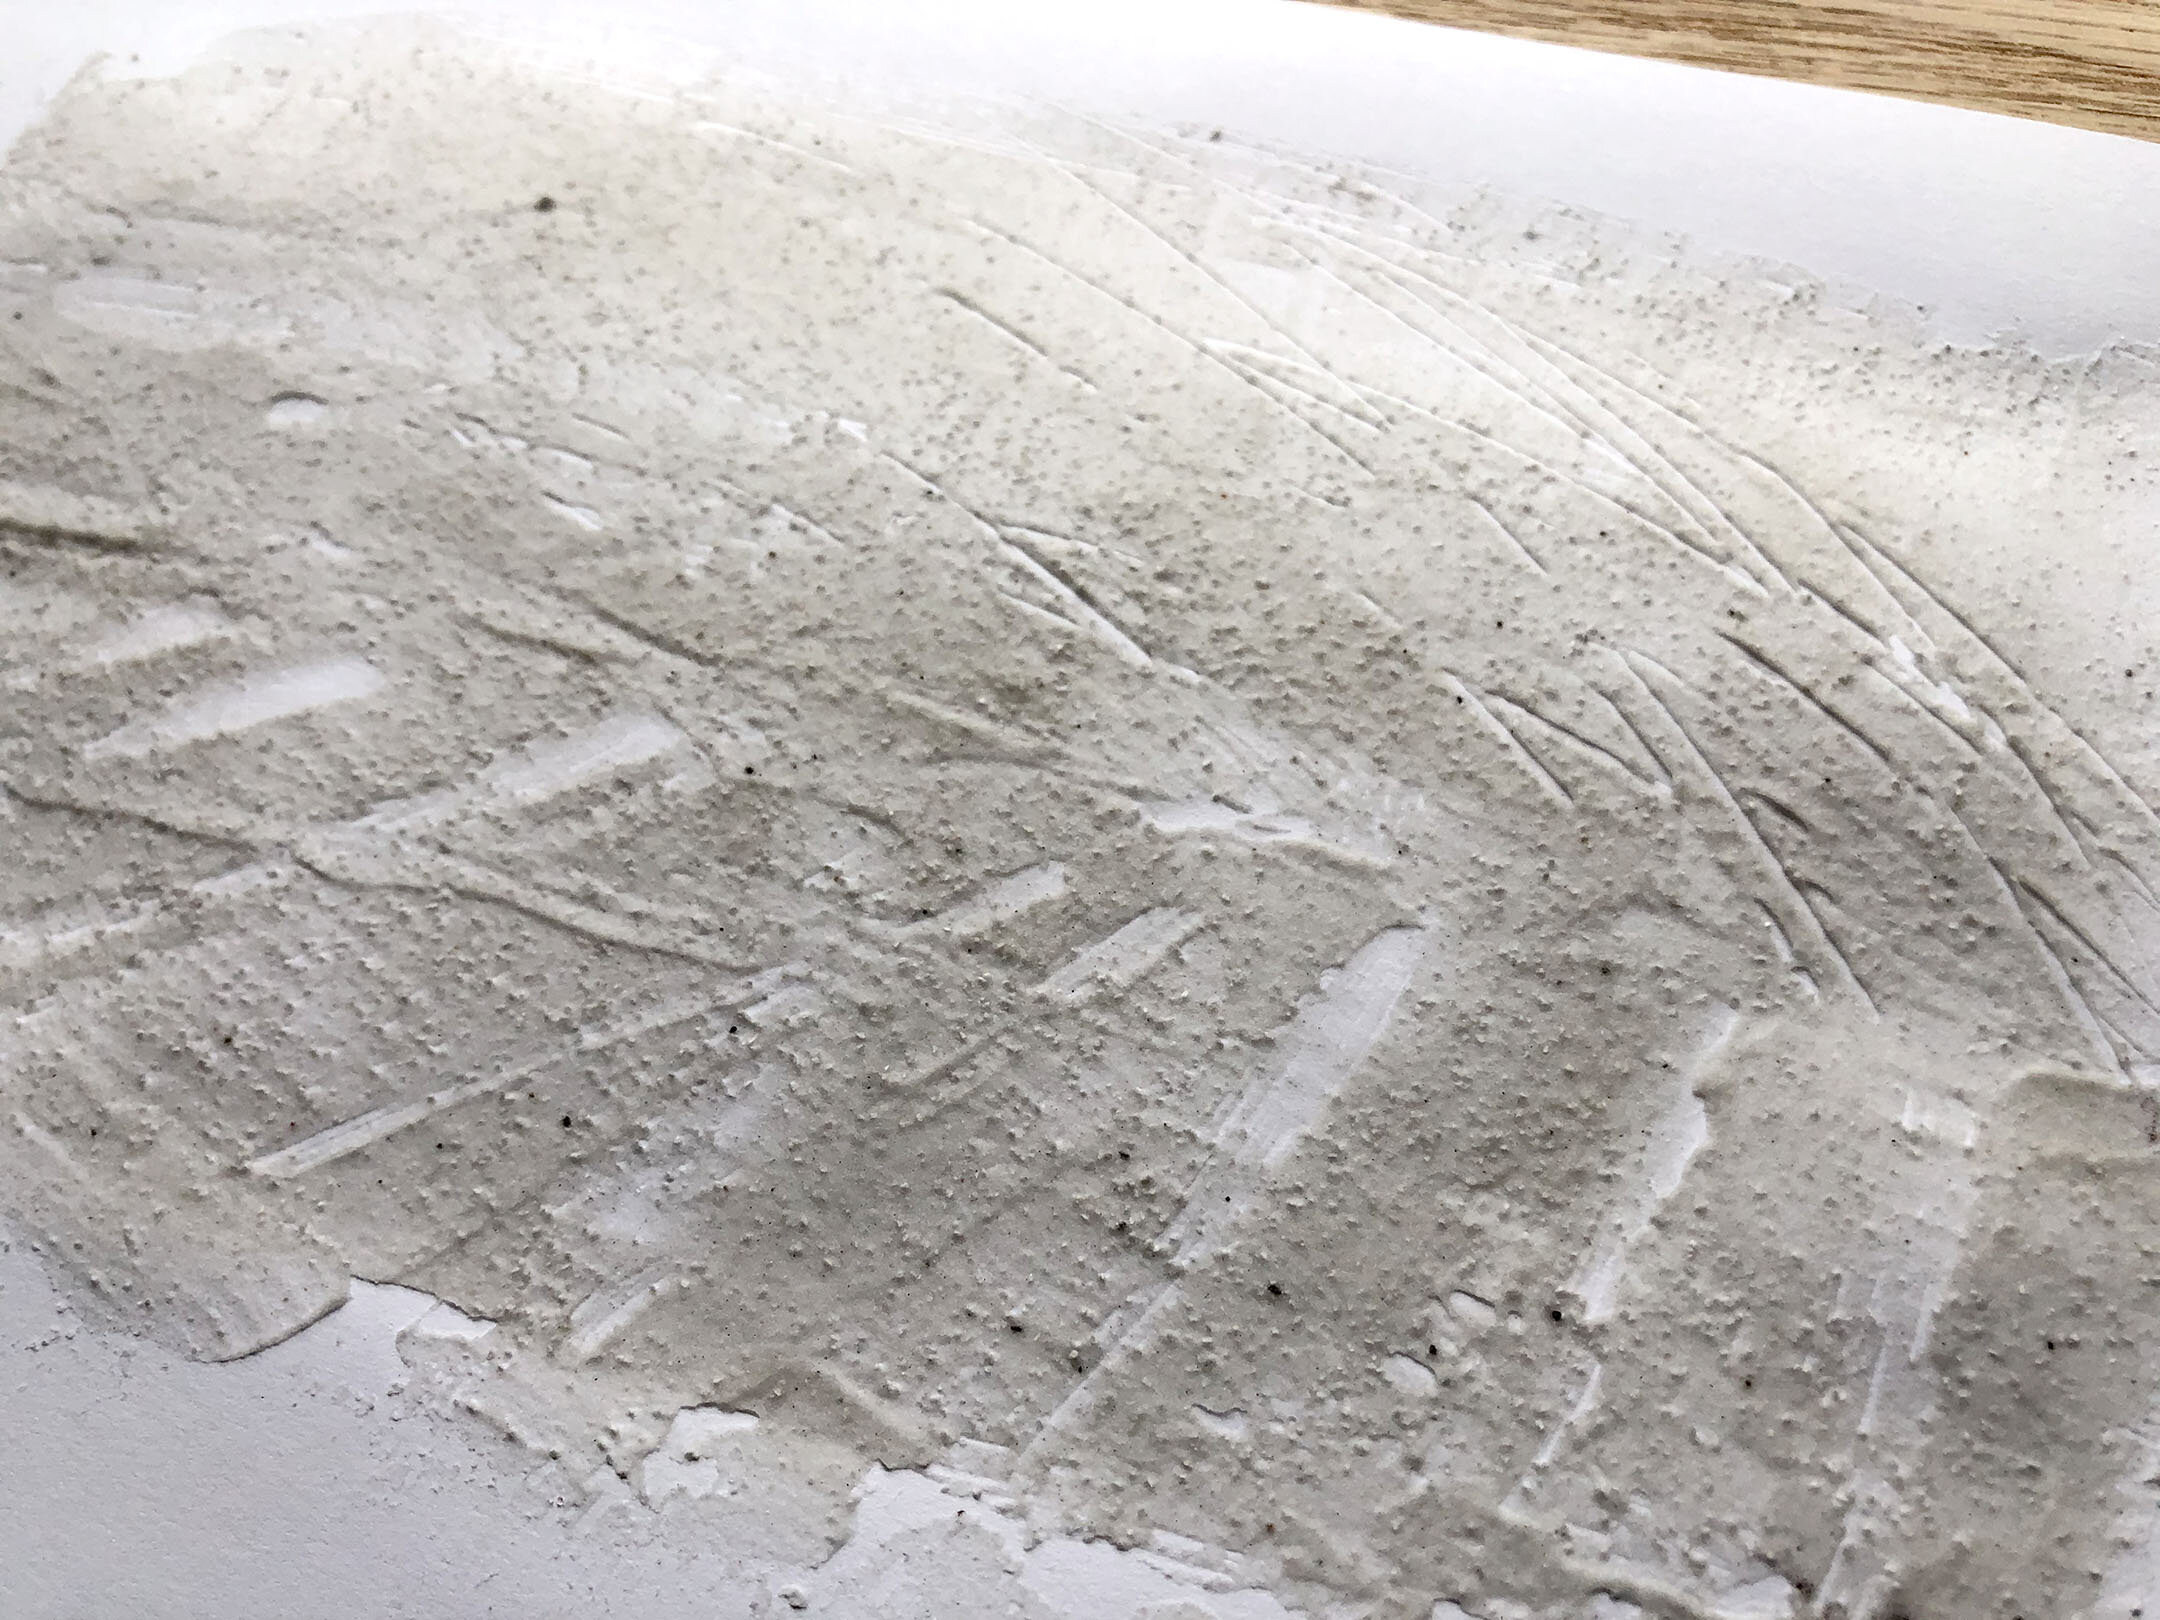
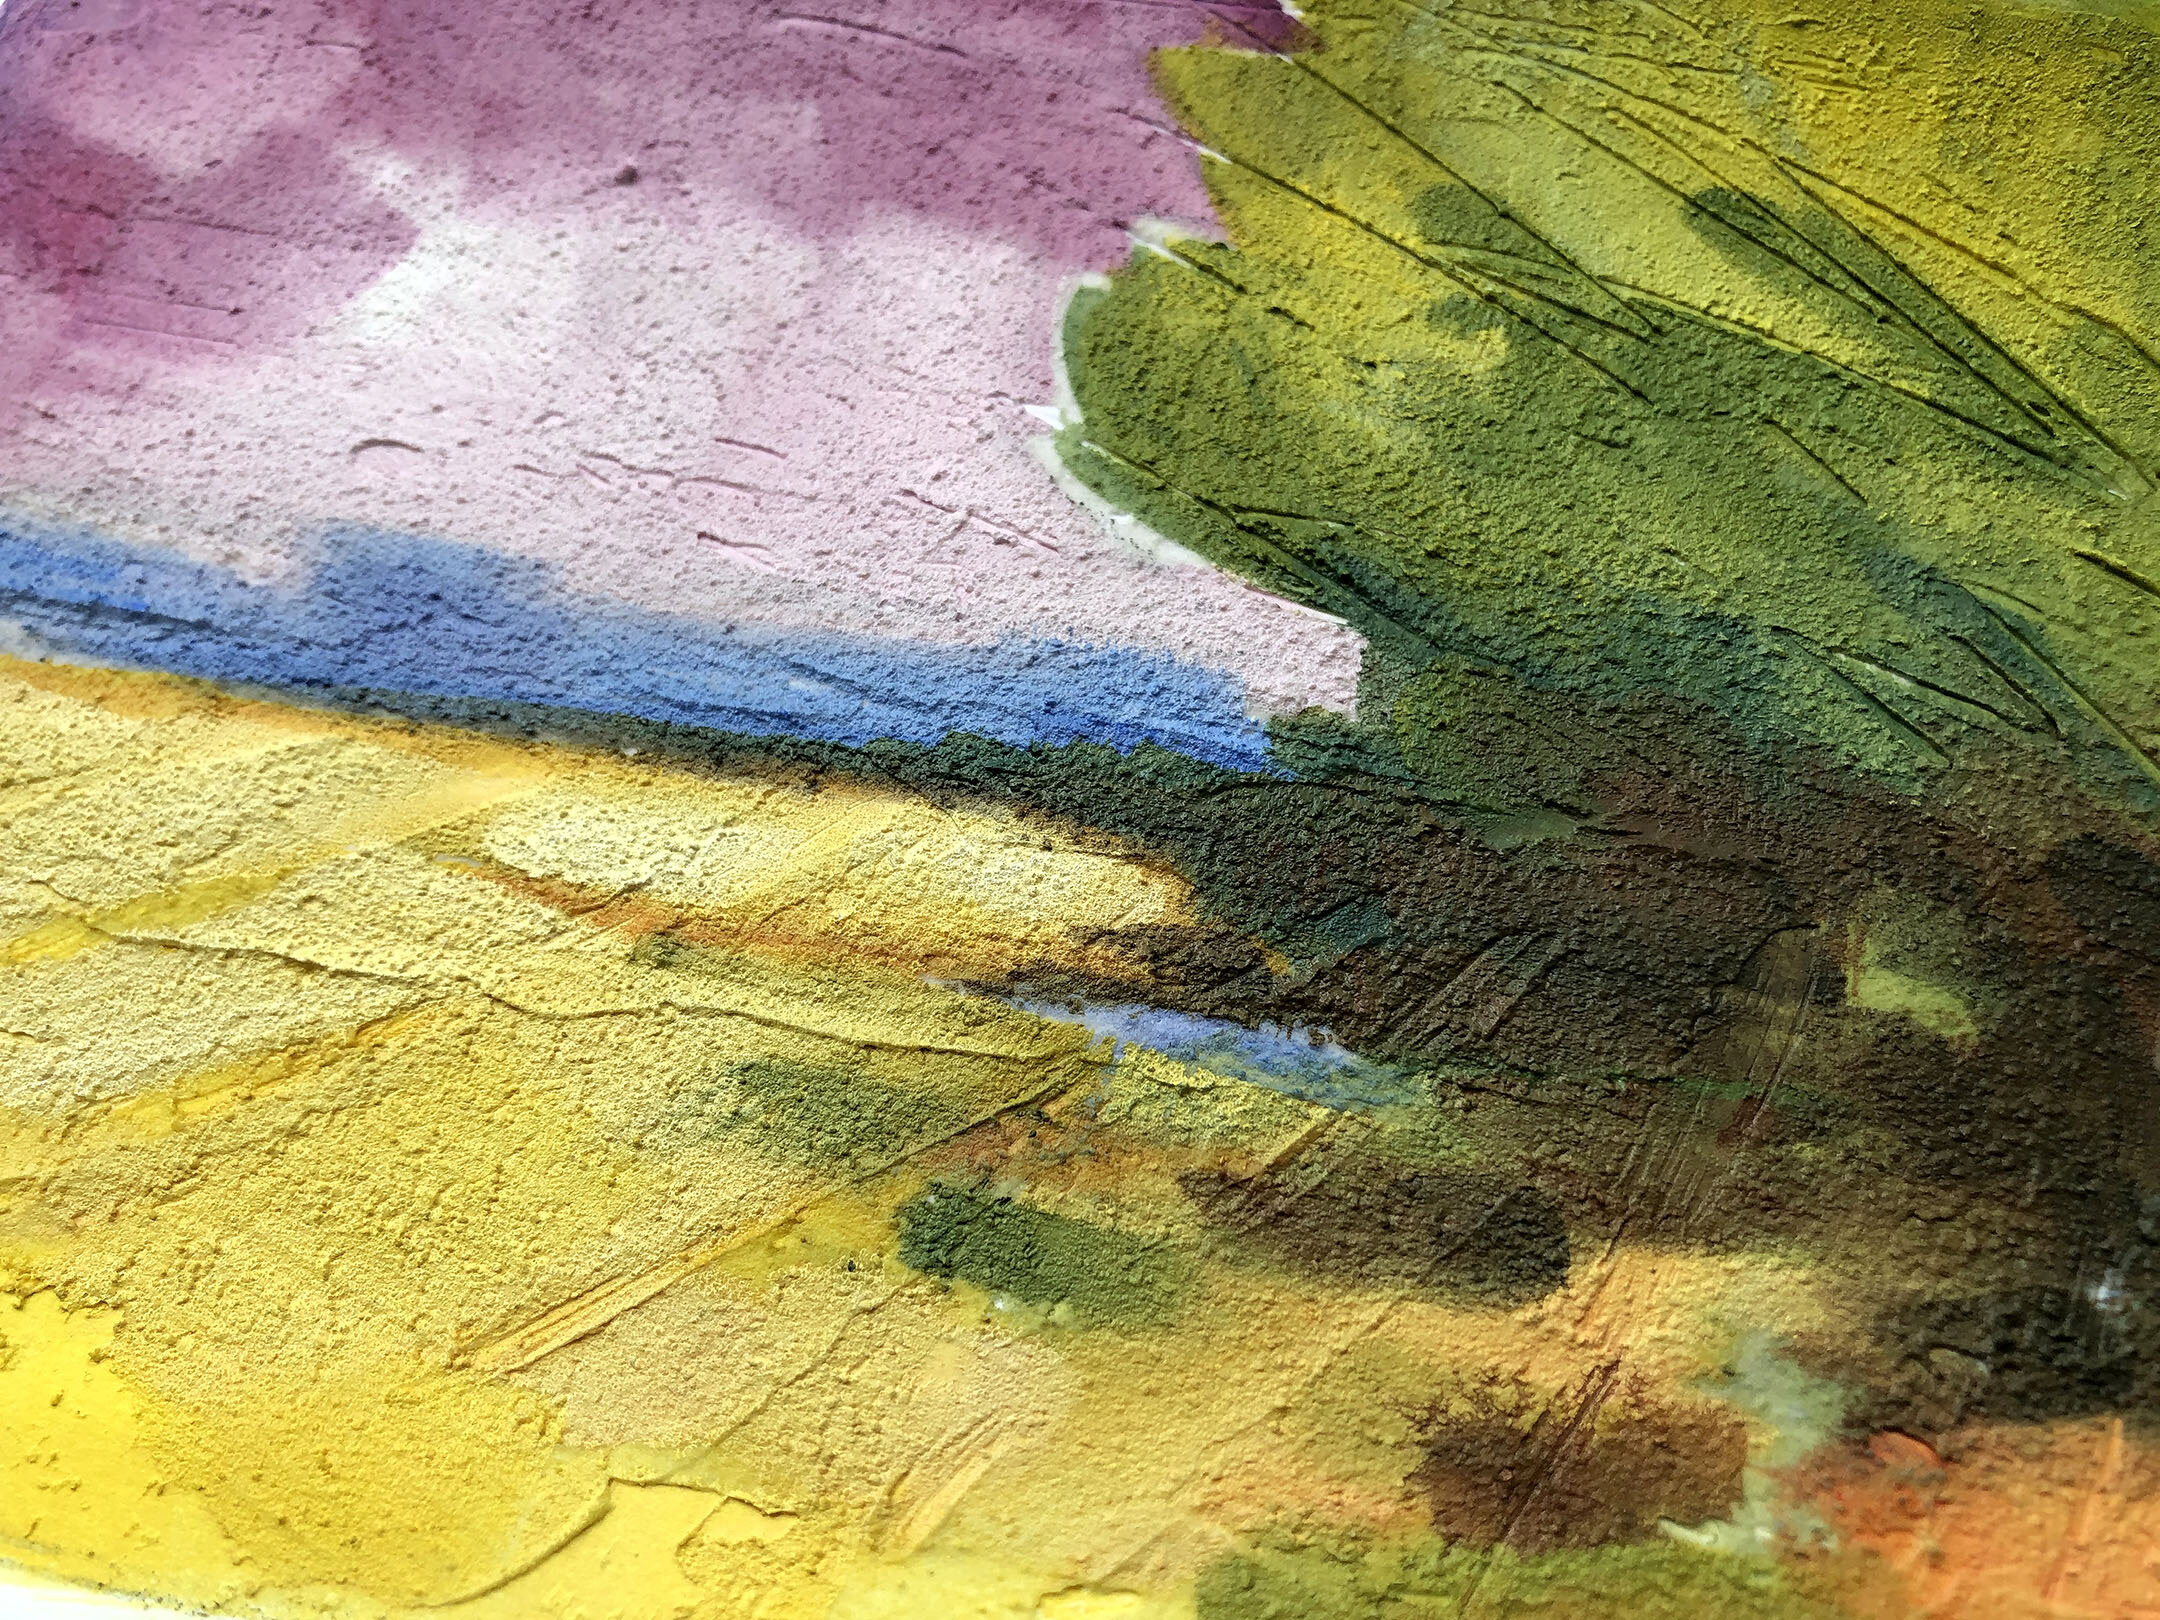
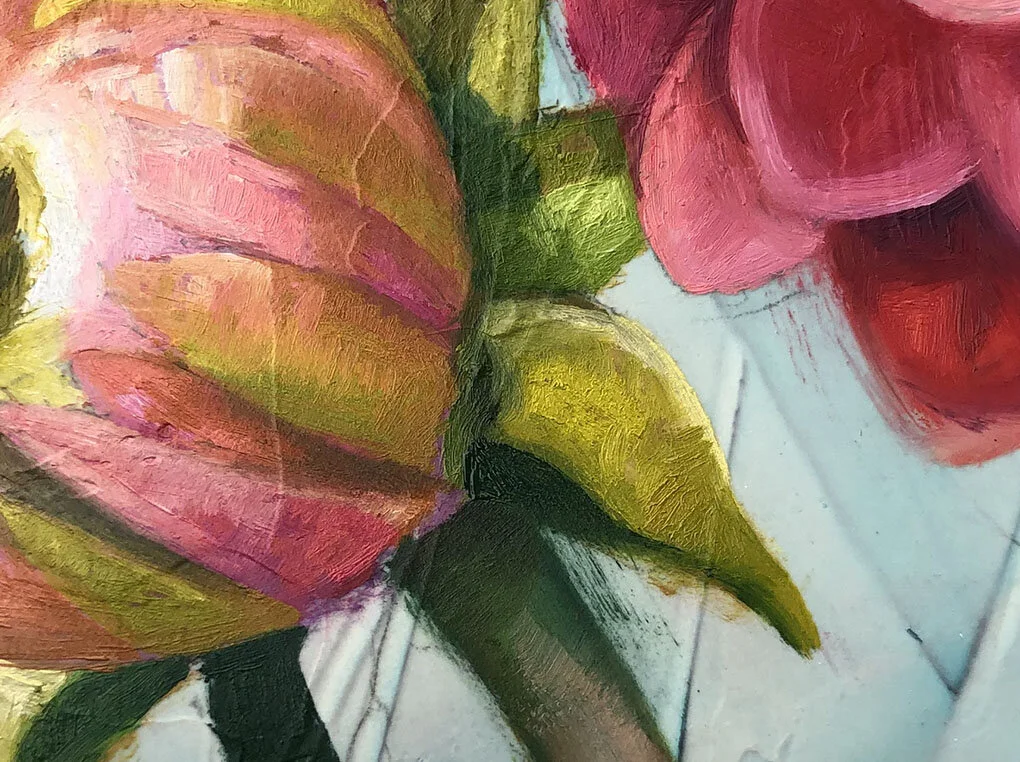
There are so many wonderful mediums on the market for oil painters, but I’m someone who simply enjoys exploring what the colors can do on their own. The Williamsburg line has some incredible textures that I love to maintain in my work (see image below), this relates to pigment grind - here’s a fun article on that: https://www.justpaint.org/a-palette-of-textures/ When I encounter one of the “course” grind colors and it isn’t moving with enough flow on the brush, I’ll add just a touch of linseed oil or Gamblin’s solvent free gel - see my video for a demo!
Solvent-free clean up!
Lastly, I’ve made the shift to not using solvents in my studio, it was a personal choice that I made when I got pregnant with my first son, I’ve kept it up and now use that approach when I teach oil painting too. I’m linking a great article here that talks about solvent free clean up: https://www.justpaint.org/cleaning-brushes-without-solvents/
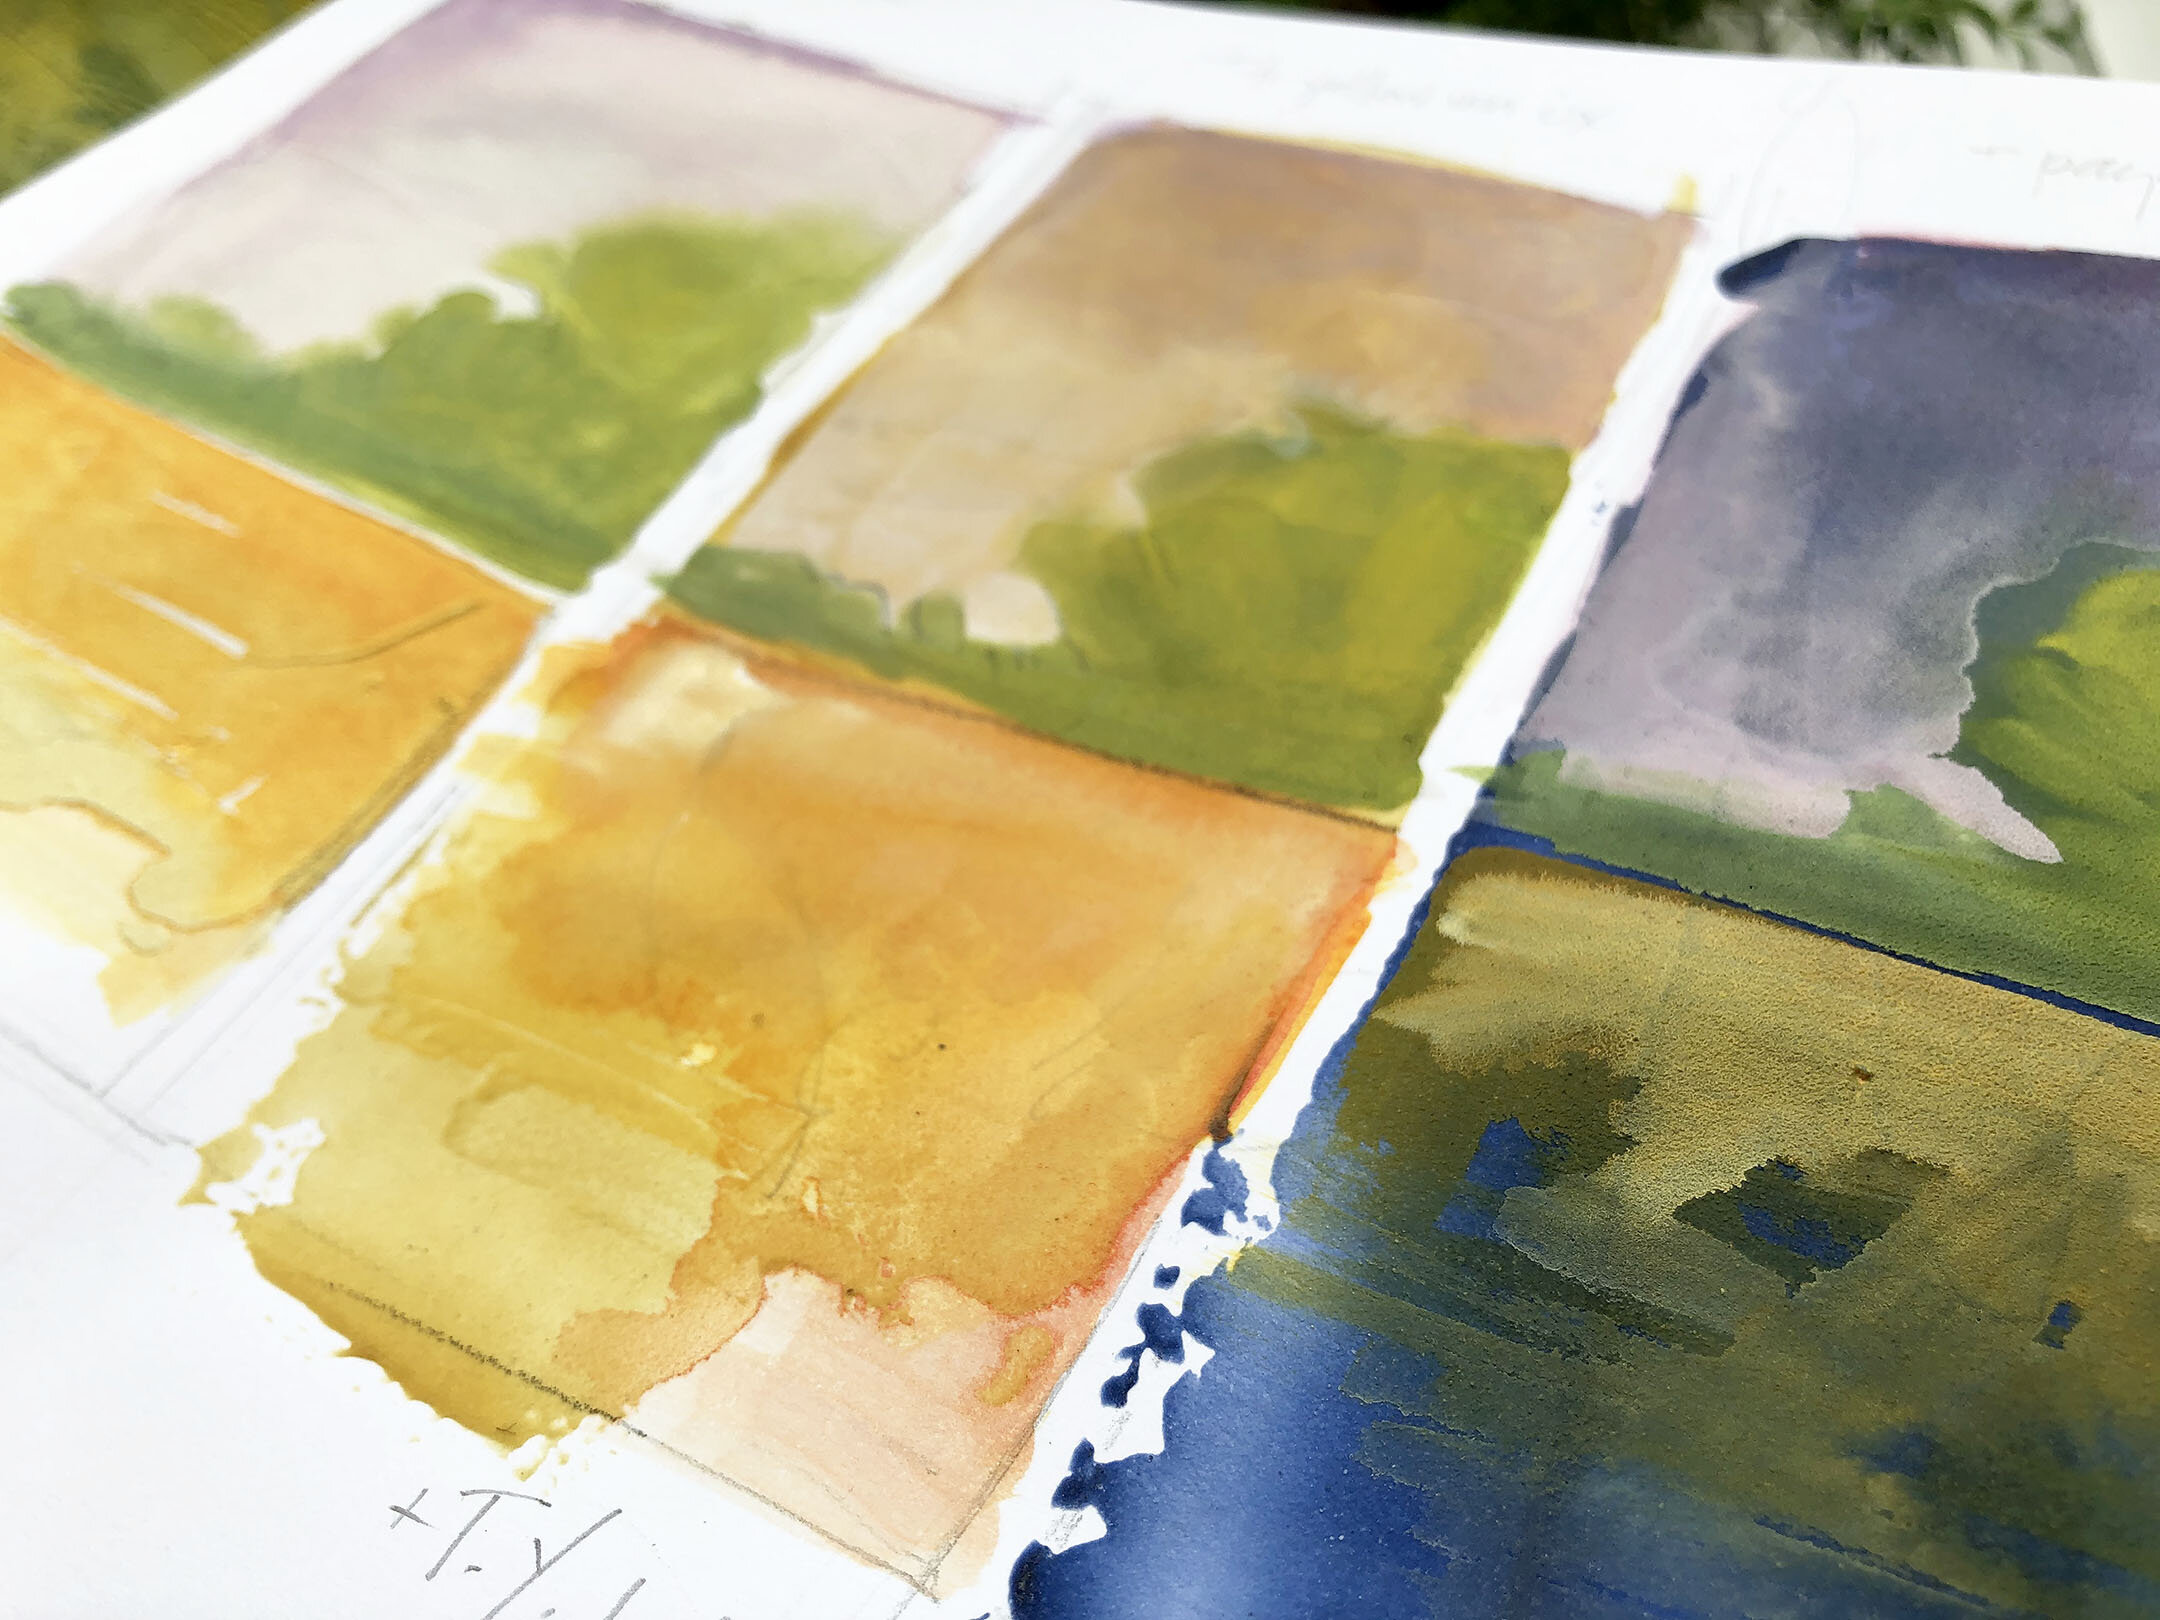
Thank you for watching and reading! Here is the current state of my demo painting - a garden coming to life…